Signature

No-Bake Chocolate
Peanut Butter Bars

“The oven isn't even involved.”

Let's be honest about what these are: a homemade candy bar the size of a baking pan, made from five things you already own, requiring cooking skills somewhere between 'can stir' and 'can wait.' The oven stays off. The mixer stays in the cabinet. Your reputation, however, is about to inflate wildly out of proportion to the effort.

The base is peanut butter, graham crumbs, butter, and powdered sugar pressed into a pan — essentially the inside of a peanut butter cup with structure. The top is melted chocolate. That's the entire architecture. Kids can build them, guests will assume a bakery was involved, and nobody needs to know it took fifteen minutes.

Fifteen minutes of stirring and pressing, two hours of the fridge doing its job, twenty-four bars of pure credit.
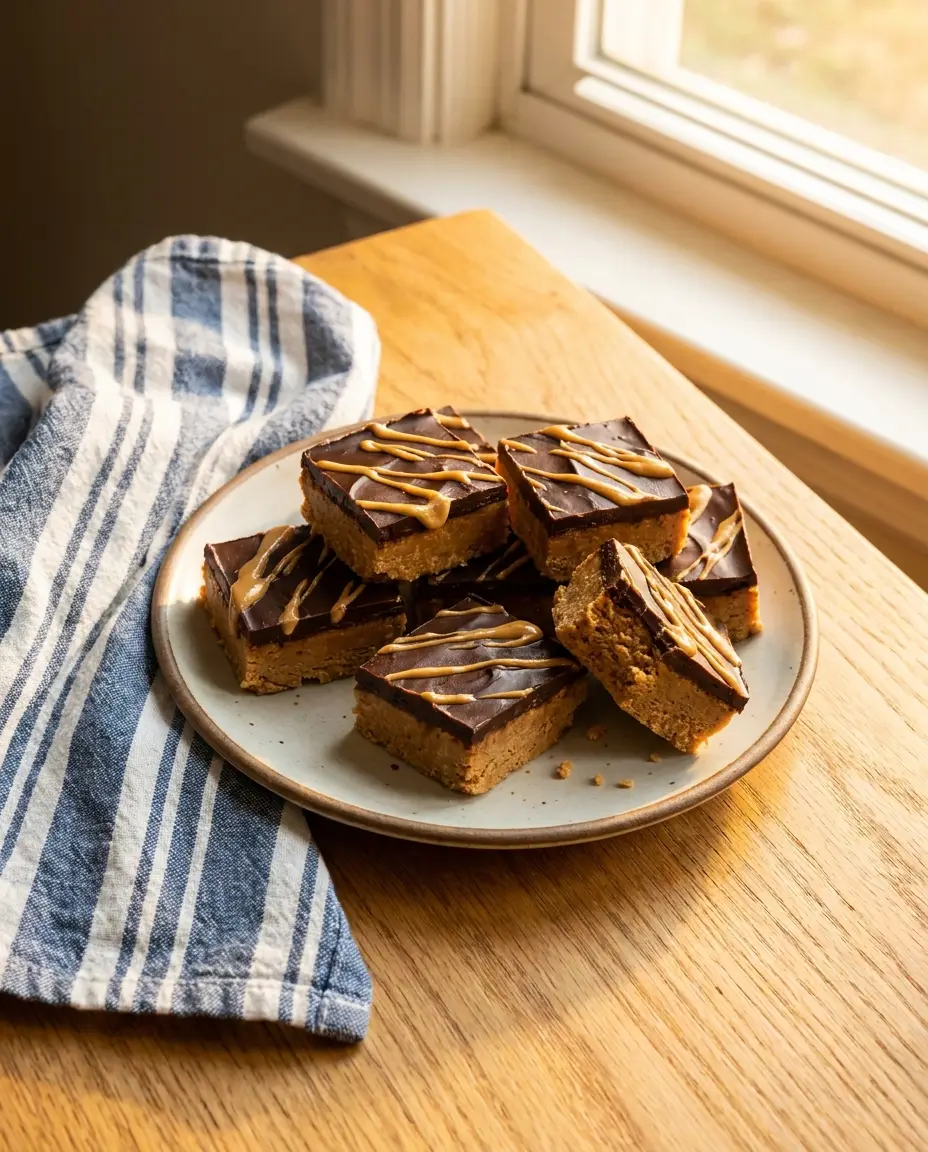
Prep: 15 minChill: 2 hoursMakes: 24 bars5 ingredientsNo oven, no mixer
← Back to recipes
No-Bake Chocolate Peanut Butter Bars

How mom makes it

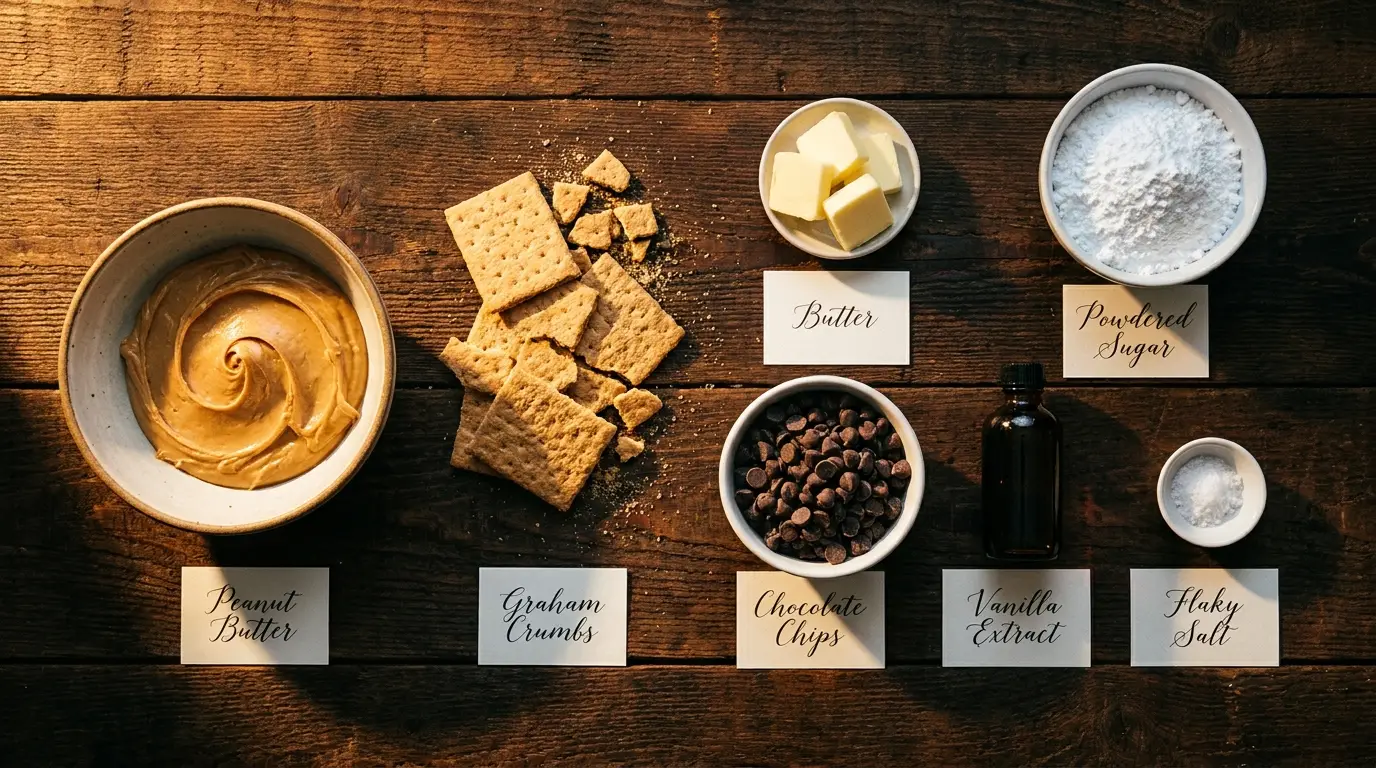
All ingredients for No-Bake Chocolate Peanut Butter Bars, labeled
🧺 Everything you need, all in one look
🧂 Ingredient notes & easy swaps
Regular creamy peanut butter (the shelf-stable kind) is the right tool here — natural drippy peanut butter makes a base that never quite sets. Graham crumbs: buy them pre-crushed or crush whole crackers in a zip bag with a rolling pin, which is legally a kids' job. Chocolate: chips are fine; a chopped bar melts even smoother. Milk chocolate makes them candy-sweet, semi-sweet keeps the grown-ups coming back. Powdered sugar, not granulated — it dissolves into the base so nothing tastes gritty.
🍳 What you actually need (equipment)
A 9x13-inch pan (23x33 cm), parchment paper, one mixing bowl, a microwave or small saucepan, and a spatula. If you own a flat-bottomed measuring cup, it makes pressing the base satisfyingly smooth.
  1. Line the pan. Parchment with overhang on the two long sides — the whole slab lifts out later for clean cutting on a board.

  2. Mix the base. In a big bowl, stir together 1 1/2 cups of the peanut butter, the melted butter, graham crumbs, powdered sugar, and vanilla until it forms a thick, cookie-dough-like paste with no dry pockets.

  3. Press it in. Dump the mixture into the pan and press firmly into an even layer — fingers first, then flatten with the bottom of a measuring cup until smooth and compact. Compact matters: a firmly pressed base slices; a loose one crumbles.

  4. Melt the top. Melt the chocolate chips with the remaining 1/4 cup peanut butter in 30-second microwave bursts, stirring between, until just smooth — don't overheat it.

  5. Pour and spread. Pour the chocolate over the base and spread to the edges in an even, glossy layer. Scatter flaky salt over the top if using.

  6. Chill until set. Refrigerate about 2 hours, until the chocolate is firm. Lift the slab out by the parchment and cut into 24 bars — score the chocolate gently first, then cut down through the base.

✅ How to know it's done

Set means the chocolate top is firm to a light touch and the base holds a clean edge when you cut a test corner. If the base squishes, it needs another thirty minutes of chill. If the chocolate cracks wildly when cut, it's fridge-cold — let the slab sit on the counter ten minutes and try again.

💡 Mom's tips (and what not to do)

💛✨ Mom's secret ingredient

A quarter cup of peanut butter melted into the chocolate topping. Straight melted chocolate sets rock-hard and shatters into shards the moment a knife touches it. That little bit of peanut butter softens the set just enough that the top slices in clean, glossy lines — and it quietly ties the two layers into one flavor while it's at it.

🥜 What Goes Well With It

  • A cold glass of milk — these are, functionally, a giant peanut butter cup and should be treated as such
  • Coffee, if the bars are for the after-the-kids-are-down hour
  • Cut into tiny squares on a platter with soft peanut butter cookies for a bake-sale table that isn't technically baked
  • Slightly frozen, straight from the freezer, on a summer afternoon — a genuinely elite texture

📦 Storage & Freezer Notes

  • Fridge: airtight, up to a week — they stay firm and slice-able the whole time.
  • Freezer: up to 2 months in layers separated by parchment. Eat them half-thawed or fully frozen; both camps are correct.
  • Counter: fine for a day if the kitchen is cool — the chocolate softens but nothing goes wrong. Warm house, keep them chilled.

🧒 Serving Ideas for Kids

  • The graham-crushing step — zip bag, rolling pin, permission to smash — is the best five minutes of a rainy afternoon.
  • Let a kid do the chocolate pour and spread; the parchment catches all sins.
  • Cut a few bars into little triangles and call them 'fancy cafe squares' — same bar, doubled excitement.

❓ Quick answers

Can I use crunchy peanut butter?
In the base, yes — it adds a nice texture. Keep the quarter cup that melts into the chocolate creamy, so the top stays glossy and smooth.
What can I use instead of graham crackers?
Digestive biscuits, vanilla wafers, or plain butter cookies — anything crisp and mild, crushed to the same 2 cups. Chocolate sandwich cookies work too and nobody has ever complained.
My base turned out crumbly. Can I fix it?
Next time, press harder and make sure the butter was fully melted and stirred through. This time: crumble the failures over vanilla ice cream and accept the compliments anyway.
Are these the same as buckeye bars?
Very close cousins. Buckeyes are the same peanut butter base rolled into balls and dipped; this is the pan-and-slice version — same flavor, a tenth of the effort, no dipping fork required.

🥗 Nutrition, roughly: about 280 calories per bar (24 bars) with 5g protein, 24g carbs, and 19g fat.

🍽️ You might also like

← Every recipe