Weeknight

Korean-Style
Beef Bowls

“Fifteen minutes. Fork-fighting flavor.”

6:45 p.m., the rice cooker clicks over to warm, and a skillet of ground beef is drinking up a glaze of soy, brown sugar, garlic, and sesame — hissing as the sugar catches and caramelizes at the edges. By 7:00, four bowls are built and somebody's already back for seconds.

That's the entire pitch: this is one of the fastest real dinners that exists, inspired by the flavors of Korean bulgogi but built from a regular supermarket cart — ground beef instead of sliced ribeye, pantry bottles instead of specialty runs. Fifteen minutes, one pan, no compromises anyone at the table will detect.

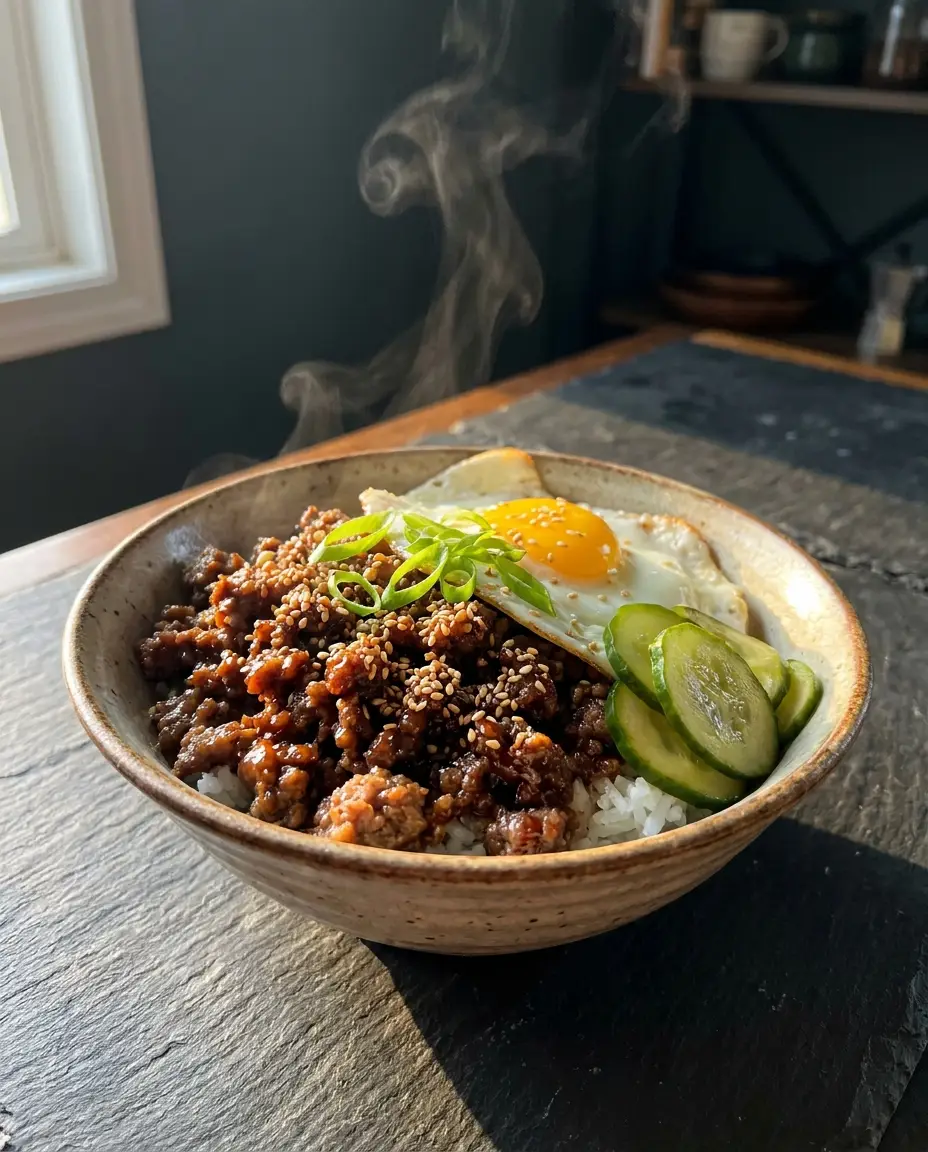
🍚 The promise: glossy caramelized beef over rice with pantry-only ingredients — 15 minutes of cooking, one skillet, and expect requests for seconds.
Prep 5 minCook 12 minTotal 17 minEasyServes 4
← Back to recipes
Korean-Style Beef Bowls

How mom makes it

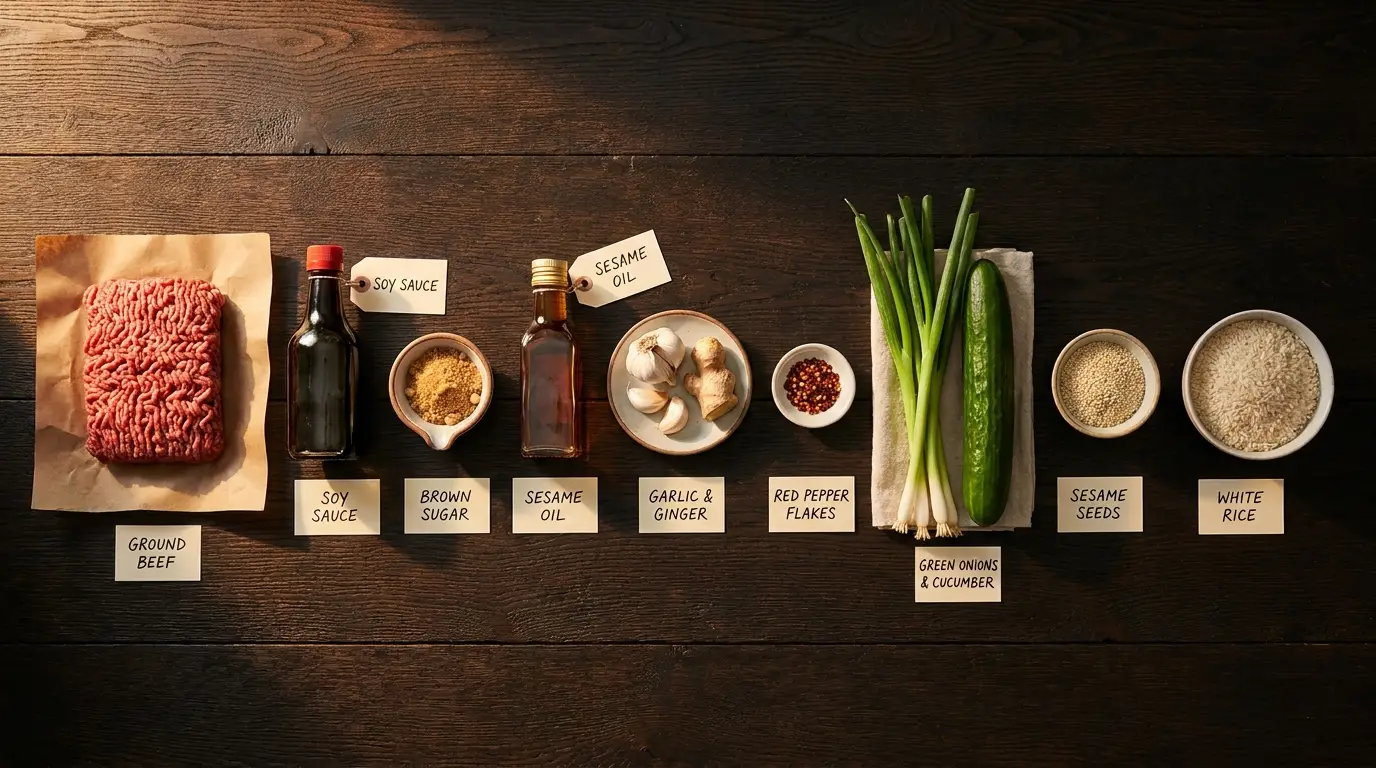
All ingredients for Korean-Style Beef Bowls, labeled
🧺 Everything you need, all in one look
🧂 Ingredient notes & easy swaps
This is a weeknight tribute to Korean bulgogi flavors, not the real ceremony — proper bulgogi deserves its marinated ribeye and its own evening. The sauce is four pantry things (soy, brown sugar, sesame oil, aromatics), and the brown sugar isn't negotiable: it's what caramelizes into the glaze's sticky edges. Mix the quick cucumbers FIRST — five minutes in vinegar transforms them, and they're the cooling crunch the rich beef is begging for.
🍳 What you actually need (equipment)
One skillet, one rice pot (or the microwave-pouch shortcut on the fastest nights), and a small bowl for the 30-second sauce stir. That's everything.
  1. Start the quick cucumbers first: sliced cucumber, splash of rice vinegar, pinch of salt and sugar, toss, fridge. They pickle themselves while you cook.

  2. Stir the sauce: soy, brown sugar, sesame oil, and pepper flakes in a small bowl until the sugar mostly dissolves.

  3. Brown the beef hard over medium-high, breaking it up, until crusty patches form — 5–6 minutes. Drain all but a spoonful of fat.

  4. Add the garlic, ginger, and green onion whites for 45 fragrant seconds — the pan should smell like the good part of a food court.

  5. Pour in the sauce and let it bubble 2–3 minutes, stirring, until it reduces to a glaze and the edges of the beef start to caramelize and catch — that sticky sizzle is the flavor arriving.

  6. Build the bowls: rice, glossy beef, quick cucumbers on the side, green onion tops and sesame over everything — and the fried egg on top if tonight deserves it. (It usually does.)

✅ How to know it's done

The beef should be glossy and clinging with glaze — not saucy-wet, not dry — with caramelized darker edges where the sugar caught the pan. Taste: sweet-savory with a gentle heat hum. Too sweet means a splash more soy; too salty means a pinch more sugar; the balance takes ten seconds to fix in the pan.

💡 Mom's tips (and what not to do)

🔁 Easy variations (budget · lighter · kids · extra flavor)
💸 Budget: this already IS the budget hero — stretch further with a cup of frozen peas or shredded carrot in the final toss. 🥦 Lighter: ground turkey works cleanly, and cauliflower rice underneath disappears into the glaze. 🧒 Kids: hold the pepper flakes in the pan; their bowls get extra cucumber and sesame. ✨ Extra flavor: a spoonful of gochujang in the sauce for the real deal heat, or kimchi on the side for the adventurous seat.

💛✨ Mom's secret ingredient

Letting the sugar catch. Most cooks pull the pan the moment the sauce coats the meat — one more minute is where brown sugar crosses from sweet liquid into caramel, sticking to the beef's crusty edges in glossy, chewy flecks. That controlled near-burn is the difference between "soy sauce beef" and the bowl people fight over. Works for any sweet glaze: teriyaki, honey garlic, barbecue.

🥒 What Goes Well With It

  • The quick cucumbers — cooling, snappy, and legally required with this beef.
  • Steamed broccoli or edamame for the green seat at the table.
  • A fried egg per bowl — the yolk is the sauce's final form.
  • Kimchi on the side for anyone ready to level up.

📦 Storage & Freezer Notes

  • Fridge: the beef keeps 4 days and reheats beautifully — meal-prep royalty in glass containers with rice.
  • Freezer: 3 months in flat bags; thaw overnight or straight into a hot pan.
  • Reheat in a skillet with a teaspoon of water to re-loosen the glaze — the microwave works fine for desk lunches.

🧒 Serving Ideas for Kids

  • "Build-a-bowl" order: rice, beef, then their own sprinkle of sesame — architects eat their buildings.
  • Mild bowls get extra cucumber "coins" — somehow vegetables pickle into treats.
  • Leftover beef in a lunch thermos over rice trades higher than anything in the cafeteria.

❓ Quick answers

Is this authentic Korean bulgogi?
No — it's a 15-minute weeknight tribute to those flavors using ground beef and pantry bottles. Real bulgogi, with marinated sliced beef, is worth seeking out at a Korean restaurant or from a Korean cookbook.
How spicy is it?
With ¼ teaspoon of flakes: a hum, not a fire. Skip them entirely for a fully mild pan and add heat per-bowl.
Can I use ground turkey or chicken?
Yes — brown in a teaspoon of oil and add an extra half-tablespoon of soy; poultry carries the glaze a little quieter.
What if I don't have fresh ginger?
Half a teaspoon of ground ginger in the sauce works — or double the garlic and call it garlic beef, which is also a correct dinner.

🥗 Nutrition, roughly: about 490 calories per bowl before the egg. Estimates only — the fried egg adds 70 calories and roughly 200% more joy.

🍽️ You might also like

← Every recipe