Sweet

Banana Bread
That Never Fails

“One bowl. No mixer. Never dry.”

Confession from our kitchen: we have baked dry banana bread. More than once. Every time, the villain was the same — flour packed hard into the measuring cup, then a mixer working the batter until it turned into a rubber band.

So this loaf plays defense. Melted butter coats the flour so it can't toughen, three genuinely ripe bananas carry all the moisture, and a fork does the mixing — because the less you stir, the softer the slice.

🍌 The promise: a moist, deeply banana-y loaf from one bowl and a fork — 10 minutes of work, an hour in the oven.

Prep 10 minBake 60 minTotal 1 hr 10Easy1 loaf / 10 slices
← Back to recipes
Banana Bread That Never Fails

How mom makes it

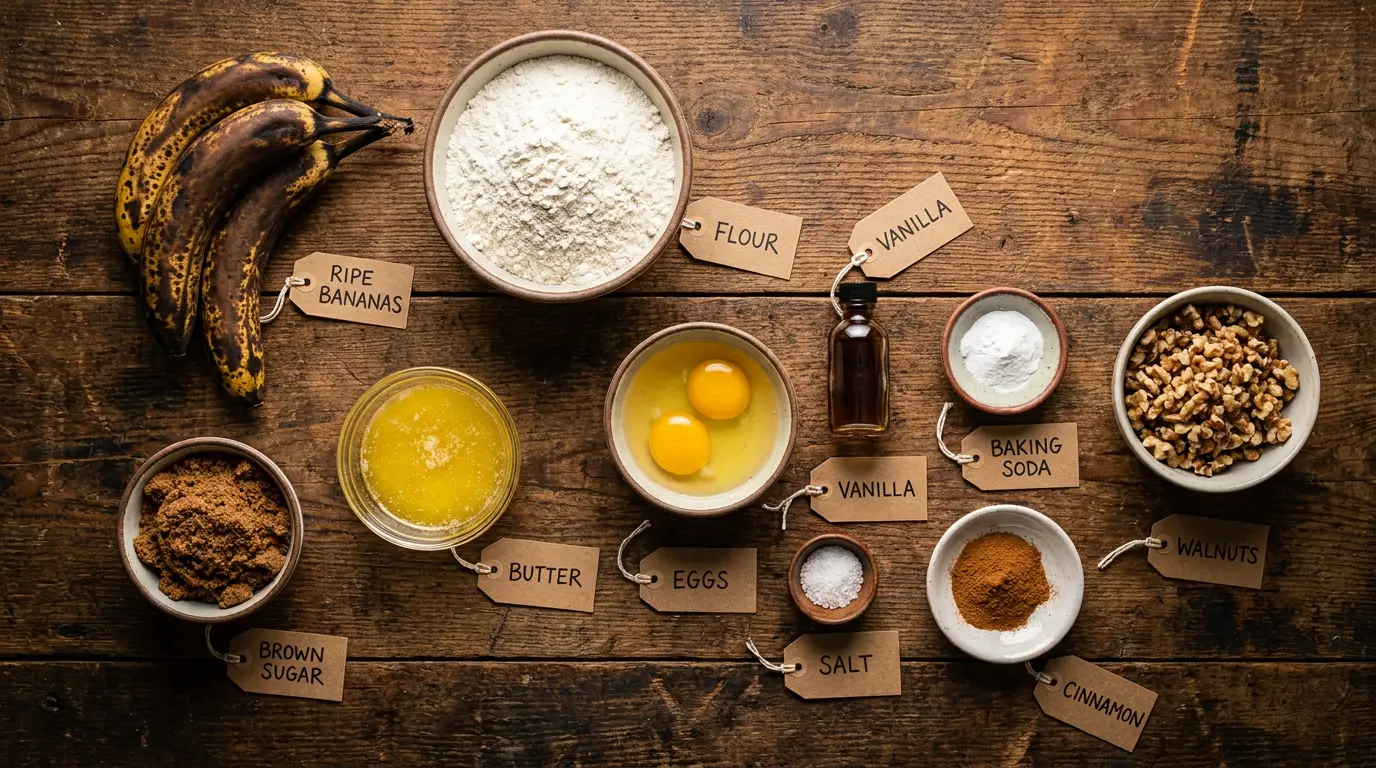
All ingredients for Banana Bread That Never Fails, labeled
🧺 Everything you need, all in one look
🧂 Ingredient notes & easy swaps
Bananas make or break this loaf — you want leopard-spotted or fully browned fruit, when the starch has already turned to sugar (yellow bananas bake into cardboard). The sour cream is cheap insurance: its acid keeps the crumb tender, and plain yogurt swaps in one-for-one. The butter can become browned butter if you're feeling fancy — the same nutty upgrade behind our brown butter chocolate chip cookies. And measure flour by spooning it into the cup and leveling it off — scooping packs in up to a quarter more, and that's exactly where dry loaves come from.
🍳 What you actually need (equipment)
One 9×5 inch (23×13 cm) loaf pan lined with a parchment sling, one big bowl, a fork for mashing, and a spatula for folding. No mixer — that's a feature, not a compromise.
  1. Heat the oven to 350°F (175°C). Mash the bananas right in your big bowl until mostly smooth with a few pea-sized lumps left — those bake into little pockets of pure banana.

  2. Whisk the melted butter, sugar, eggs, vanilla, and sour cream into the bananas until the mixture looks like a glossy, caramel-colored milkshake.

  3. Sprinkle the baking soda, salt, and cinnamon evenly over the surface, then add the flour on top — layering the leaveners first lets them blend in before the flour starts building gluten.

  4. Fold with a spatula JUST until no dry streaks remain. The batter should look thick and slightly lumpy — smooth, shiny batter means it's overmixed, and the loaf will chew instead of melt.

  5. Scrape into the pan and bake 55–65 minutes. Around minute 40 the top cracks and the kitchen smells like caramelized banana — if the dome is browning fast, tent it loosely with foil.

  6. It's ready when a skewer in the crack comes out with moist crumbs (not wet batter) and the center reads 200–205°F (93–96°C). Cool 15 minutes in the pan, then lift out by the parchment onto a rack.

✅ How to know it's done

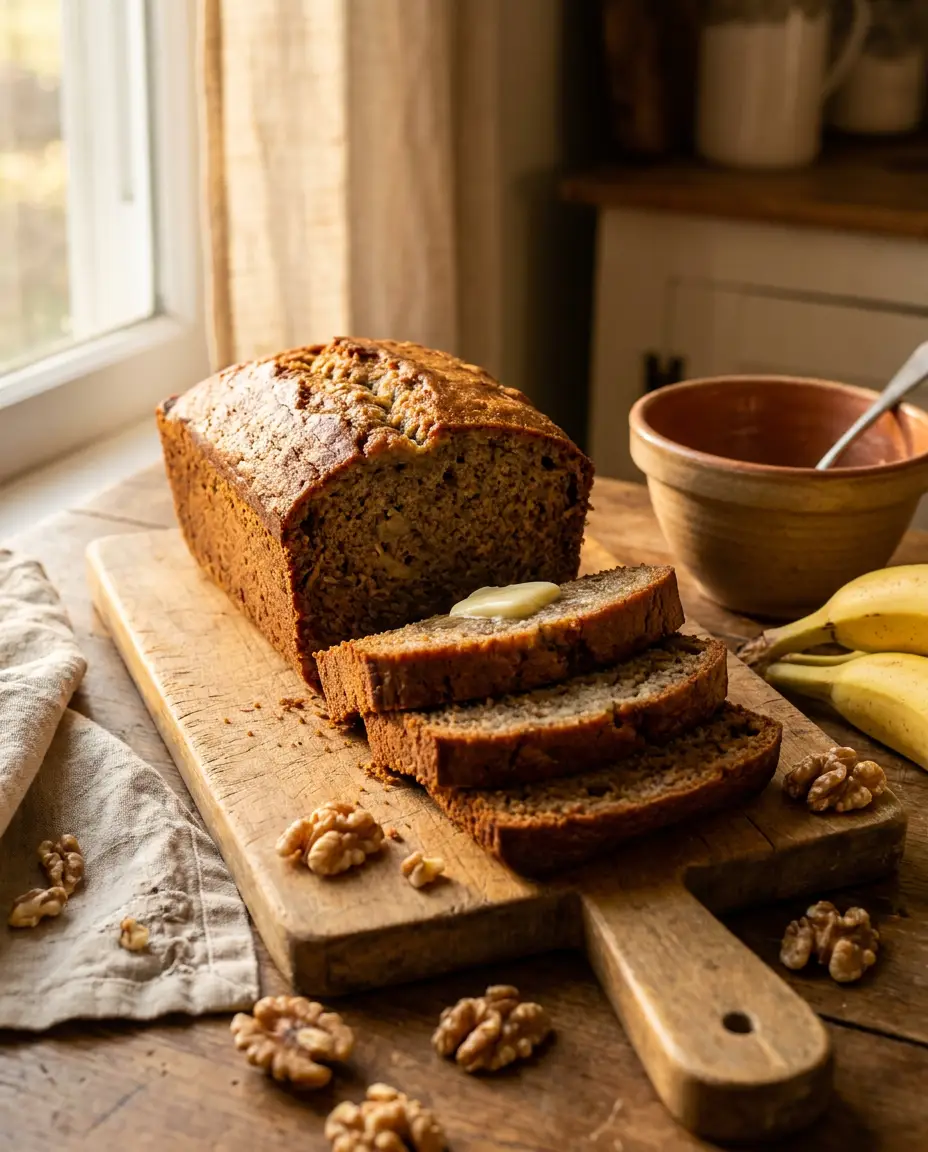
Look for a deep walnut-brown dome with a rustic crack down the middle, edges pulling slightly away from the pan, and a skewer that comes out with moist crumbs clinging — not raw batter, not bone-dry. If you own a thermometer, 200–205°F (93–96°C) in the center is the never-fails number.

💡 Mom's tips (and what not to do)

🔁 Easy variations (budget · lighter · kids · extra flavor)
💸 Budget: skip the sour cream and add 2 extra tablespoons of mashed banana. 🥦 Lighter: swap half the flour for white whole wheat and drop the sugar to ⅔ cup. 🧒 Kids: scatter mini chocolate chips over the top third — every slice negotiation ends peacefully. ✨ Extra flavor: brown the butter first and fold in ½ cup toasted walnuts.

💛✨ Mom's secret ingredient

A spoonful of sour cream. Its gentle acid interrupts gluten before it can toughen, and the extra fat carries moisture the bananas can't — which is why this loaf is still soft on day three. It's a transferable trick: a little acidic dairy means a tender crumb in almost any quick bread or muffin.

🧈 What Goes Well With It

  • A thick slice with cold salted butter — the classic for a reason.
  • Toasted under the broiler until the edges caramelize, then peanut butter.
  • Slightly warm with vanilla ice cream — dessert mode, fully sanctioned.
  • Cream cheese between two thin slices: the lunchbox sandwich of the week.

📦 Storage & Freezer Notes

  • Counter: wrapped tight, 3 days — it's actually better on day two, once the crumb settles.
  • Freezer: slice first, wrap well, up to 3 months — single slices thaw in a lunchbox by noon.
  • Skip the fridge — it dries quick breads out faster than the counter does. A 15-second microwave brings frozen slices back to just-baked.

❓ Quick answers

Why did my banana bread sink in the middle?
Usually underbaked — the crack looked done but the center never hit 200°F. Too much banana beyond 1⅓ cups can also weigh it down. Trust the skewer, not the clock.
Can I use frozen bananas?
Yes — thaw fully, then pour off the watery liquid before mashing. What's left is concentrated banana flavor.
Can I bake this as muffins?
Same batter, 18–20 minutes at 350°F (175°C), cups ¾ full — makes about 14.
Why is my loaf gummy at the bottom?
Either unmixed banana settled there, or it was sliced hot. Fold from the bottom of the bowl, and give it the 15-minute rest.

🥗 Nutrition, roughly: about 220 calories per slice. Estimates only — the end piece with extra crust is priceless anyway.

🍽️ You might also like

← Every recipe