Vanilla Birthday Sheet Cake with Buttercream and Sprinkles
“One pan. Zero stacking stress.”
By Sok Heng Oeun, Founder and Reviewer · Published July 8, 2026 · Updated September 22, 2026
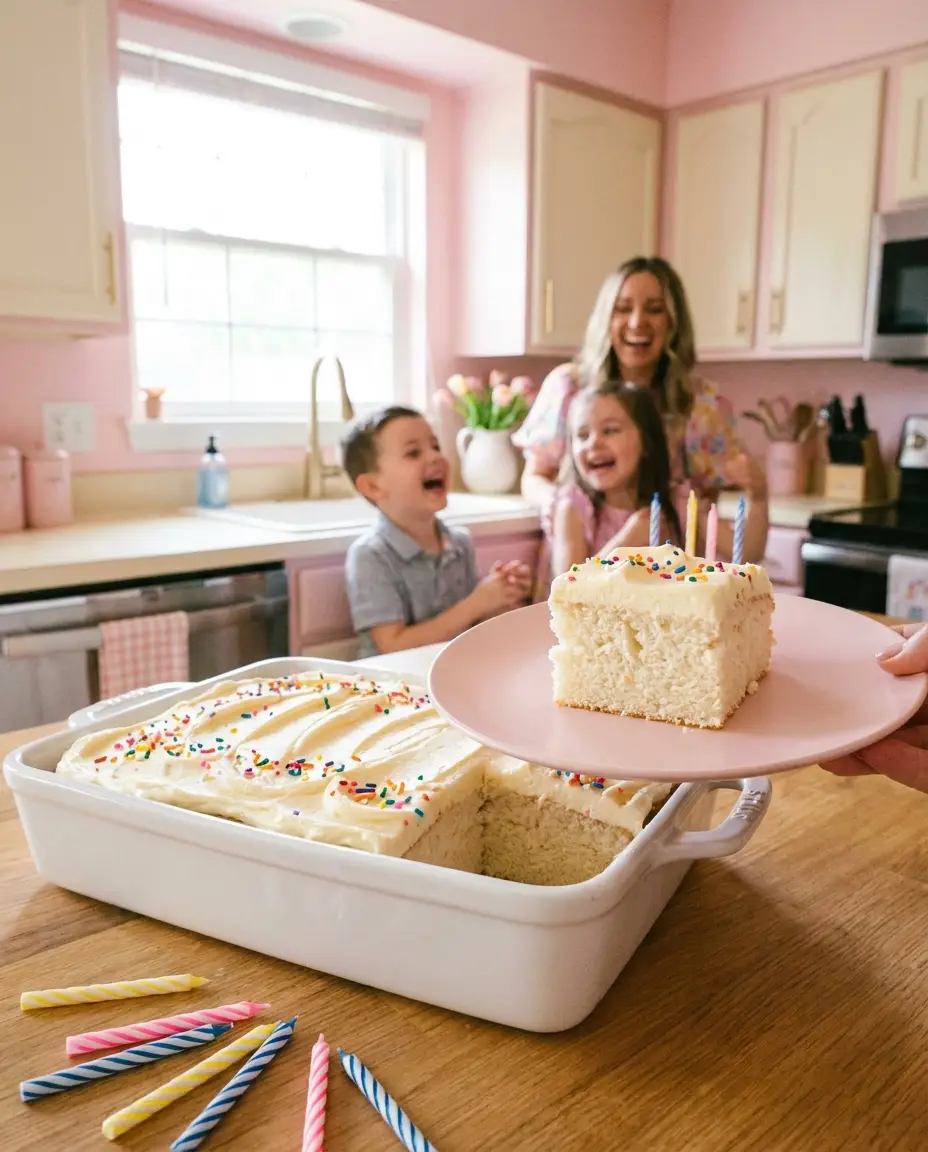
A layer cake needs levelling, stacking and a crumb coat; a sheet cake needs none of that. This is a soft vanilla butter cake baked in a 9x13 pan, frosted flat in the pan with a simple American buttercream, and finished with sprinkles.
The crumb is a classic creamed-butter cake: butter and sugar beaten until pale, eggs added one at a time, then flour and milk alternated so the batter never gets overworked. It cuts into 16 clean squares and travels to a party in the pan it was baked in.
🎂 The promise: a soft vanilla cake with fluffy buttercream — one pan, frosted flat, ready in about two hours including the hour of cooling.
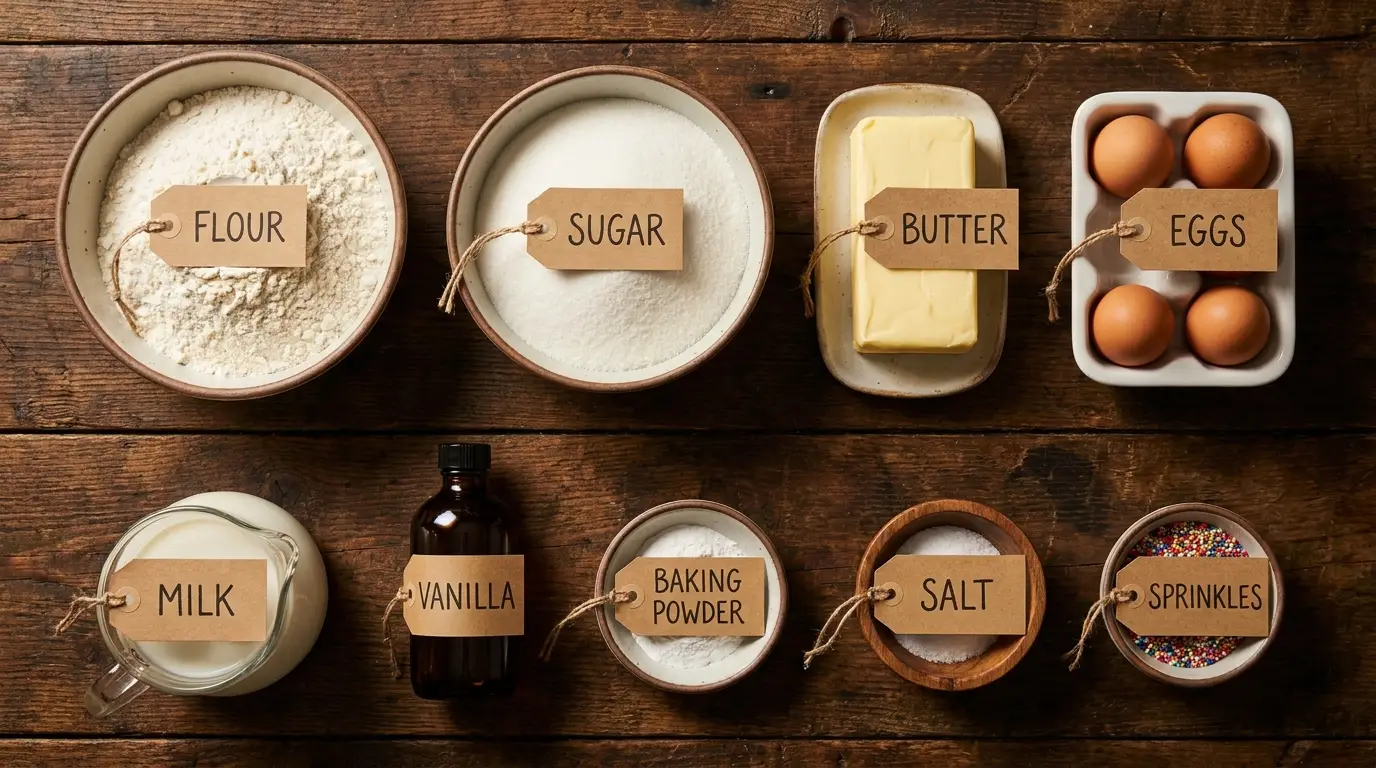
🧺 Everything you need, all in one look🧂 Ingredient notes & easy swaps
Room-temperature eggs, butter and milk matter more in this cake than most: cold eggs or milk make the creamed butter seize into lumps, and the batter that results bakes dense. Real vanilla extract is worth using, since vanilla is the only flavor. Whole milk bakes the most tender crumb, but any milk works. For the frosting, sift the powdered sugar if you want it completely smooth. The "Cook 1 hr 30 min" above is 30 minutes of baking plus the hour the cake needs to cool before it can be frosted; prep includes making the frosting.
🍳 What you actually need (equipment)
A 9×13-inch pan, a large mixing bowl, a hand or stand mixer (creaming butter and sugar properly takes 3 minutes with a mixer and is very hard by hand), a second bowl for the dry ingredients, parchment paper, and an offset spatula or the back of a spoon for the frosting.
Heat the oven to 350°F (175°C). Grease the 9×13 pan and line it with parchment, leaving an overhang on the two long sides to lift the cake out later if you want to serve it off a board.
Beat the softened butter and sugar with a mixer until pale and fluffy, about 3 minutes; the air beaten in here is part of what the cake rises on.
Add the eggs one at a time, then the vanilla, mixing until each egg is fully blended in before adding the next.
Whisk the flour, baking powder, and salt together in a second bowl, then add to the batter in three additions, alternating with the milk in two. Begin and end with flour, and stop mixing the moment the batter is smooth.
Spread the batter evenly into the pan and bake 28–32 minutes, until the centre springs back from a gentle press and a toothpick comes out clean or with a crumb or two.
Cool completely in the pan, about an hour. Beat the frosting butter, powdered sugar, milk and vanilla until fluffy, about 2 minutes, spread it over the cooled cake in the pan, and scatter the sprinkles over while the frosting is still soft. Cut into 16 squares to serve.
✅ How to know the cake is done
The top turns light gold, the edges just pull away from the pan, the centre springs back from a soft press, and a toothpick comes out clean or with a crumb or two. A centre that wobbles needs 3–4 more minutes; deep brown edges and a domed, cracked top mean it was overbaked or the oven runs hot, and the edges will be dry.
💡 Practical tips (and what not to do)
Room temperature everything. Set the butter, eggs, and milk out an hour ahead — it's the difference between fluffy and dense.
Stop mixing at smooth. Once the flour is in, every extra minute of beating develops gluten and the cake bakes firm and chewy instead of tender.
Cool completely before frosting. Buttercream is mostly butter; on a cake that is even slightly warm it melts and slides off the edges.
Frost in the pan. The pan sides hold the frosting in, the top is flat, and the cake travels to a party covered with foil.
Sprinkles go on right after frosting, while it is still soft; once the buttercream forms a skin (about 15 minutes) they no longer stick.
💸 Budget: skip the frosting and dust the cooled cake with powdered sugar. 🥦 Lighter: make half the frosting, spread it thin, and cover the top with sliced strawberries. 🧒 Kids: divide the frosting into bowls and tint each with a drop of food colouring so children can decorate their own squares. ✨ Extra flavor: ½ teaspoon of almond extract in the batter alongside the vanilla gives the flavor of a bakery birthday cake.
💛✨ Flavor boost
Whisk 2 tablespoons of sour cream or plain yogurt into the milk before it goes in. The small amount of acid tenderises the gluten and the extra fat keeps the crumb moist a day longer than milk alone; the amount is too small to taste and does not change the baking time.
🍨 What Goes Well With It
Vanilla or strawberry ice cream on the side.
Fresh strawberries or raspberries, which cut the sweetness of the buttercream.
Room temperature: covered in the pan, up to 3 days; the layer of frosting keeps the cake from drying out.
Fridge: up to a week, covered. Take it out an hour before serving; cold butter in the crumb and the frosting makes both firm.
Freeze the unfrosted cake, wrapped well in plastic then foil, up to 3 months. Thaw overnight at room temperature and frost the day of the party.
🧒 Serving Ideas for Kids
Let the birthday child frost one corner of the cake with a spoon; the sprinkles cover uneven patches.
Put out two or three kinds of sprinkles in small bowls for decorating.
Leftover squares pack well in a lunchbox; the frosting holds up for a morning without refrigeration.
❓ Quick answers
Can I make it as a layer cake?
Yes. Divide the batter between two greased and lined 9-inch round pans and bake 24–28 minutes. Make 1½ times the frosting so there is enough for the filling and the sides, and chill the filled cake 20 minutes before frosting the outside so the layers do not slide.
Can I bake it a day ahead?
Yes. Bake, cool, and cover the pan tightly overnight at room temperature, then frost the day of the party. The crumb is slightly moister on day two as the moisture evens out through the cake.
Why did my cake come out dense?
Almost always cold ingredients or overmixing. Cold butter cannot hold air when creamed, and cold eggs or milk make the creamed butter seize; either way the batter starts with less air. Beating after the flour goes in develops gluten. Set everything out an hour ahead, cream the butter and sugar the full 3 minutes, and stop as soon as the batter is smooth.
Can I use this recipe for cupcakes?
Yes. It makes about 24 cupcakes in lined tins, filled two-thirds full, baked 18–20 minutes at the same temperature. The frosting amount is enough for a generous swirl on each.
🥗 Nutrition, roughly: about 380 calories per frosted square (16 squares). Estimates only; brands, cuts and portion sizes change the numbers.
Published by MommyCooking.org. This AI-assisted recipe passed automated checks for page consistency and required image files. The publisher confirms this recipe was tested before publication. The food images are AI-generated illustrations, not photographs of a cooking session. Cooking temperatures should be checked with a food thermometer; nutrition figures are estimates. How we make recipes · Report a problem with this recipe