Signature

Brown Butter
Rice Krispie Treats

“The bake sale isn't ready.”

Rice krispie treats have exactly one flaw: everyone already knows precisely what they taste like. They are the beige sedans of the dessert table — reliable, welcome, invisible. Nobody has ever elbowed past a pie to reach one. Until now, because you are about to commit the culinary equivalent of putting a racing engine in that sedan.

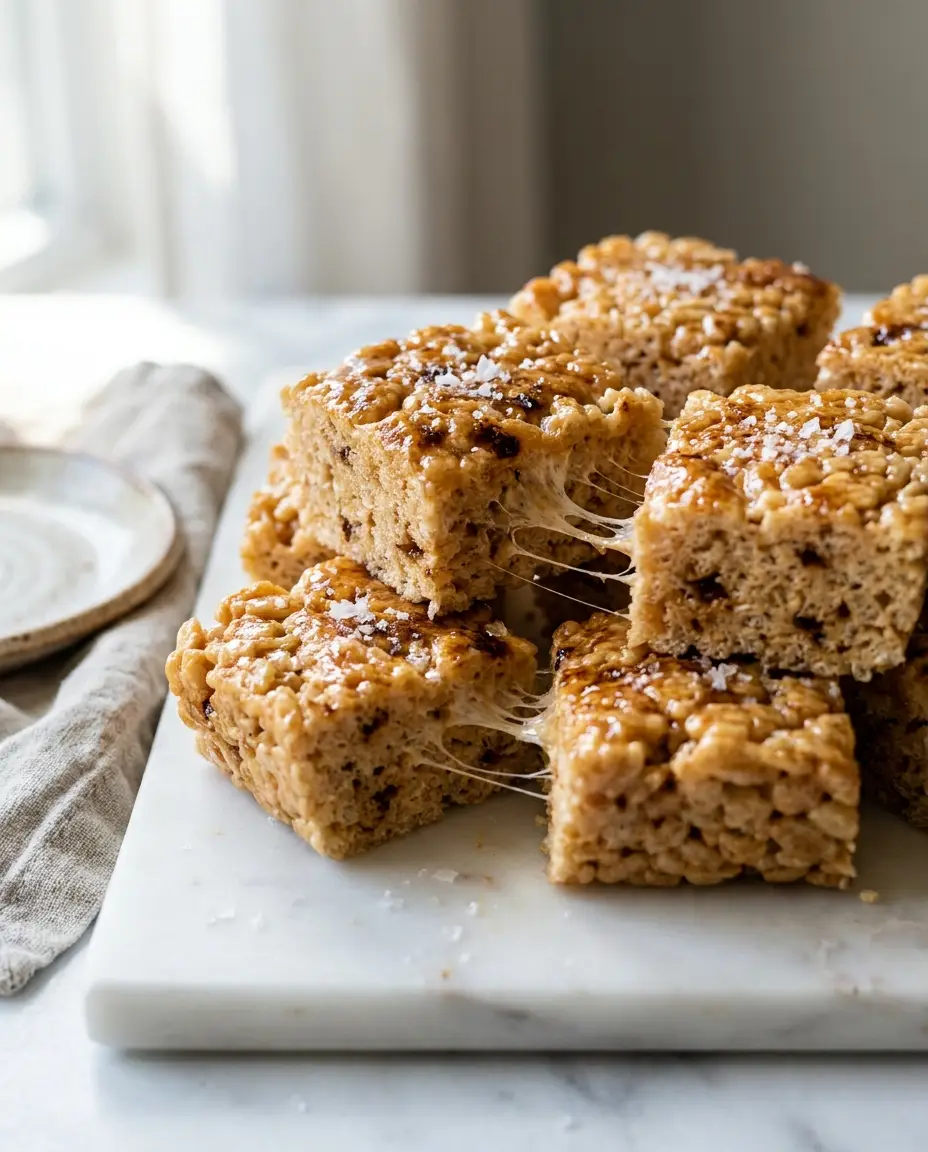
The engine is browned butter. Five extra minutes of letting the butter go golden and nutty before the marshmallows go in, plus a handful of whole marshmallows folded in at the end for gooey pockets, plus flaky salt on top. Same three core ingredients, same fifteen minutes, and suddenly grown adults are asking for the recipe of a rice krispie treat. It feels like cheating. It is not cheating.

Fifteen minutes, one pot, no oven — and the most surprising thing anyone brings to the bake sale.
Total: 15 minMakes: 12 squaresOne pot, no oven3 core ingredientsGooey pockets inside
← Back to recipes
Brown Butter Rice Krispie Treats

How mom makes it

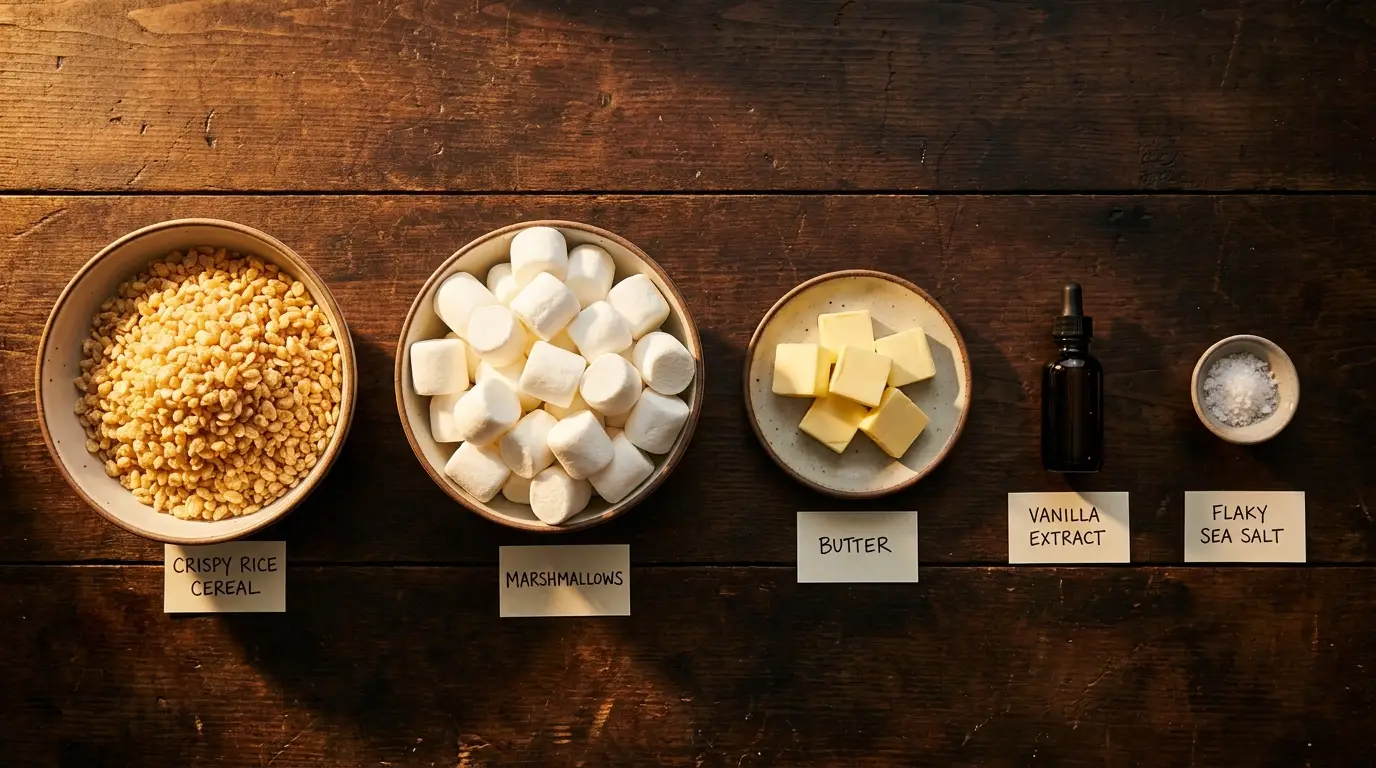
All ingredients for Brown Butter Rice Krispie Treats, labeled
🧺 Everything you need, all in one look
🧂 Ingredient notes & easy swaps
More butter than the box recipe — on purpose. Browning cooks off water, and the bigger amount keeps the treats rich instead of dry. Mini marshmallows melt fastest and fold in cutest, but big ones cut in half work fine for the gooey pockets. Fresh marshmallows matter: a bag that's been open since last summer melts into stiff toffee instead of fluff. Any crispy rice cereal works, including the budget bag — the brown butter is doing the branding here.
🍳 What you actually need (equipment)
One large pot (light-colored inside if possible, so you can see the butter change color), a spatula, and a 9x13 pan lined with parchment. Butter the spatula and your hands — marshmallow respects preparation.
  1. Brown the butter. Melt it in the big pot over medium heat and keep it moving. It will foam, then quiet, then the milk solids at the bottom turn golden brown and it smells like toasted hazelnuts — about 5 to 6 minutes. Pull it the moment it's amber; brown becomes burnt in under a minute.

  2. Melt the marshmallows. Drop the heat to low, add the full bag of marshmallows, and stir until just smooth. Take the pot off the heat and stir in the vanilla and fine salt.

  3. Fold in the cereal. Add the crispy rice in two additions, folding gently until every piece is glossed. Gentle is the word — crushing the cereal now is how treats end up dense.

  4. Fold in the secret. Wait one minute (so they don't vanish), then fold in the reserved 2 cups of whole marshmallows. They should streak and half-survive — those are your gooey pockets.

  5. Press lightly, not firmly. Turn everything into the lined pan and press just enough to even the top, using a buttered spatula or buttered hands. Packing it tight is the number-one cause of rock-hard treats.

  6. Salt and set. Scatter flaky salt across the top and let the pan sit 30 minutes at room temperature. Cut into 12 generous squares and accept your new reputation.

✅ How to know it's done

Set means the slab holds its shape when cut but a square still yields softly when squeezed — like a good handshake, firm but friendly. If it's hard enough to knock on, it was pressed too firmly or the marshmallows overcooked; note it for next time and serve them slightly warmed, when all is forgiven.

💡 Mom's tips (and what not to do)

💛✨ Mom's secret ingredient

The second wave of marshmallows, folded in whole at the very end. Melted marshmallow is the glue — but the whole ones half-melt into soft, stretchy pockets that make every square taste freshly made, even two days later. It's the difference between a treat that crunches and a treat that pulls.

🍬 What Goes Well With It

  • Cold milk — these are engineered for it
  • Stacked on the same plate as brown butter chocolate chip cookies for a bake sale table that shares one delicious secret
  • A drizzle of melted chocolate over the top if the occasion is fancy (a Tuesday can be fancy)
  • Crumbled over vanilla ice cream, where they behave like the world's best cereal topping

📦 Storage & Freezer Notes

  • Counter: airtight, 3 days — with a slice of sandwich bread in the container, they stay soft the whole time (the bread donates its moisture nobly).
  • Don't refrigerate — the fridge turns marshmallow tough and the butter waxy. Room temperature is where these live.
  • Freezer: wrapped squares keep a month; thaw 20 minutes on the counter. They travel brilliantly in lunchboxes straight from frozen.

🧒 Serving Ideas for Kids

  • Buttered hands + pressing duty = the most requested job in this recipe. Supervise the pot, delegate the pan.
  • Cut a batch with cookie cutters (hearts, dinosaurs) for a party — same treats, triple the applause, and the scraps are the cook's tax.
  • Sprinkles pressed onto the top before it sets makes it a birthday version in ten seconds.

❓ Quick answers

Is browning the butter really worth the extra five minutes?
It is the entire recipe. Regular melted butter makes the treat you already know; browned butter makes people stop mid-bite. If you're going to skip it, save yourself the reading and use the box recipe.
Why did my treats turn out hard as a brick?
One of two crimes: the marshmallows cooked too long (melt on low, then off the heat), or the slab got pressed like it owed you money. Gentle heat, gentle hands.
Can I make these dairy-free?
Plant butter browns surprisingly decently (watch it closely — less water, faster color), and most marshmallows are already dairy-free. Check the bag for gelatin if that matters to your table.
Can I double the batch?
Yes — use your biggest pot and two 9x13 pans rather than one deep one; a thick slab cools into something closer to a doorstop. Two thin pans keep the tender texture.

🥗 Nutrition, roughly: about 220 calories per square with 2g protein, 34g carbs, and 9g fat.

🍽️ You might also like

← Every recipe