Beef Taco Skillet
with Rice, Beans and Melty Cheddar
“Taco night, minus the pile of dishes.”
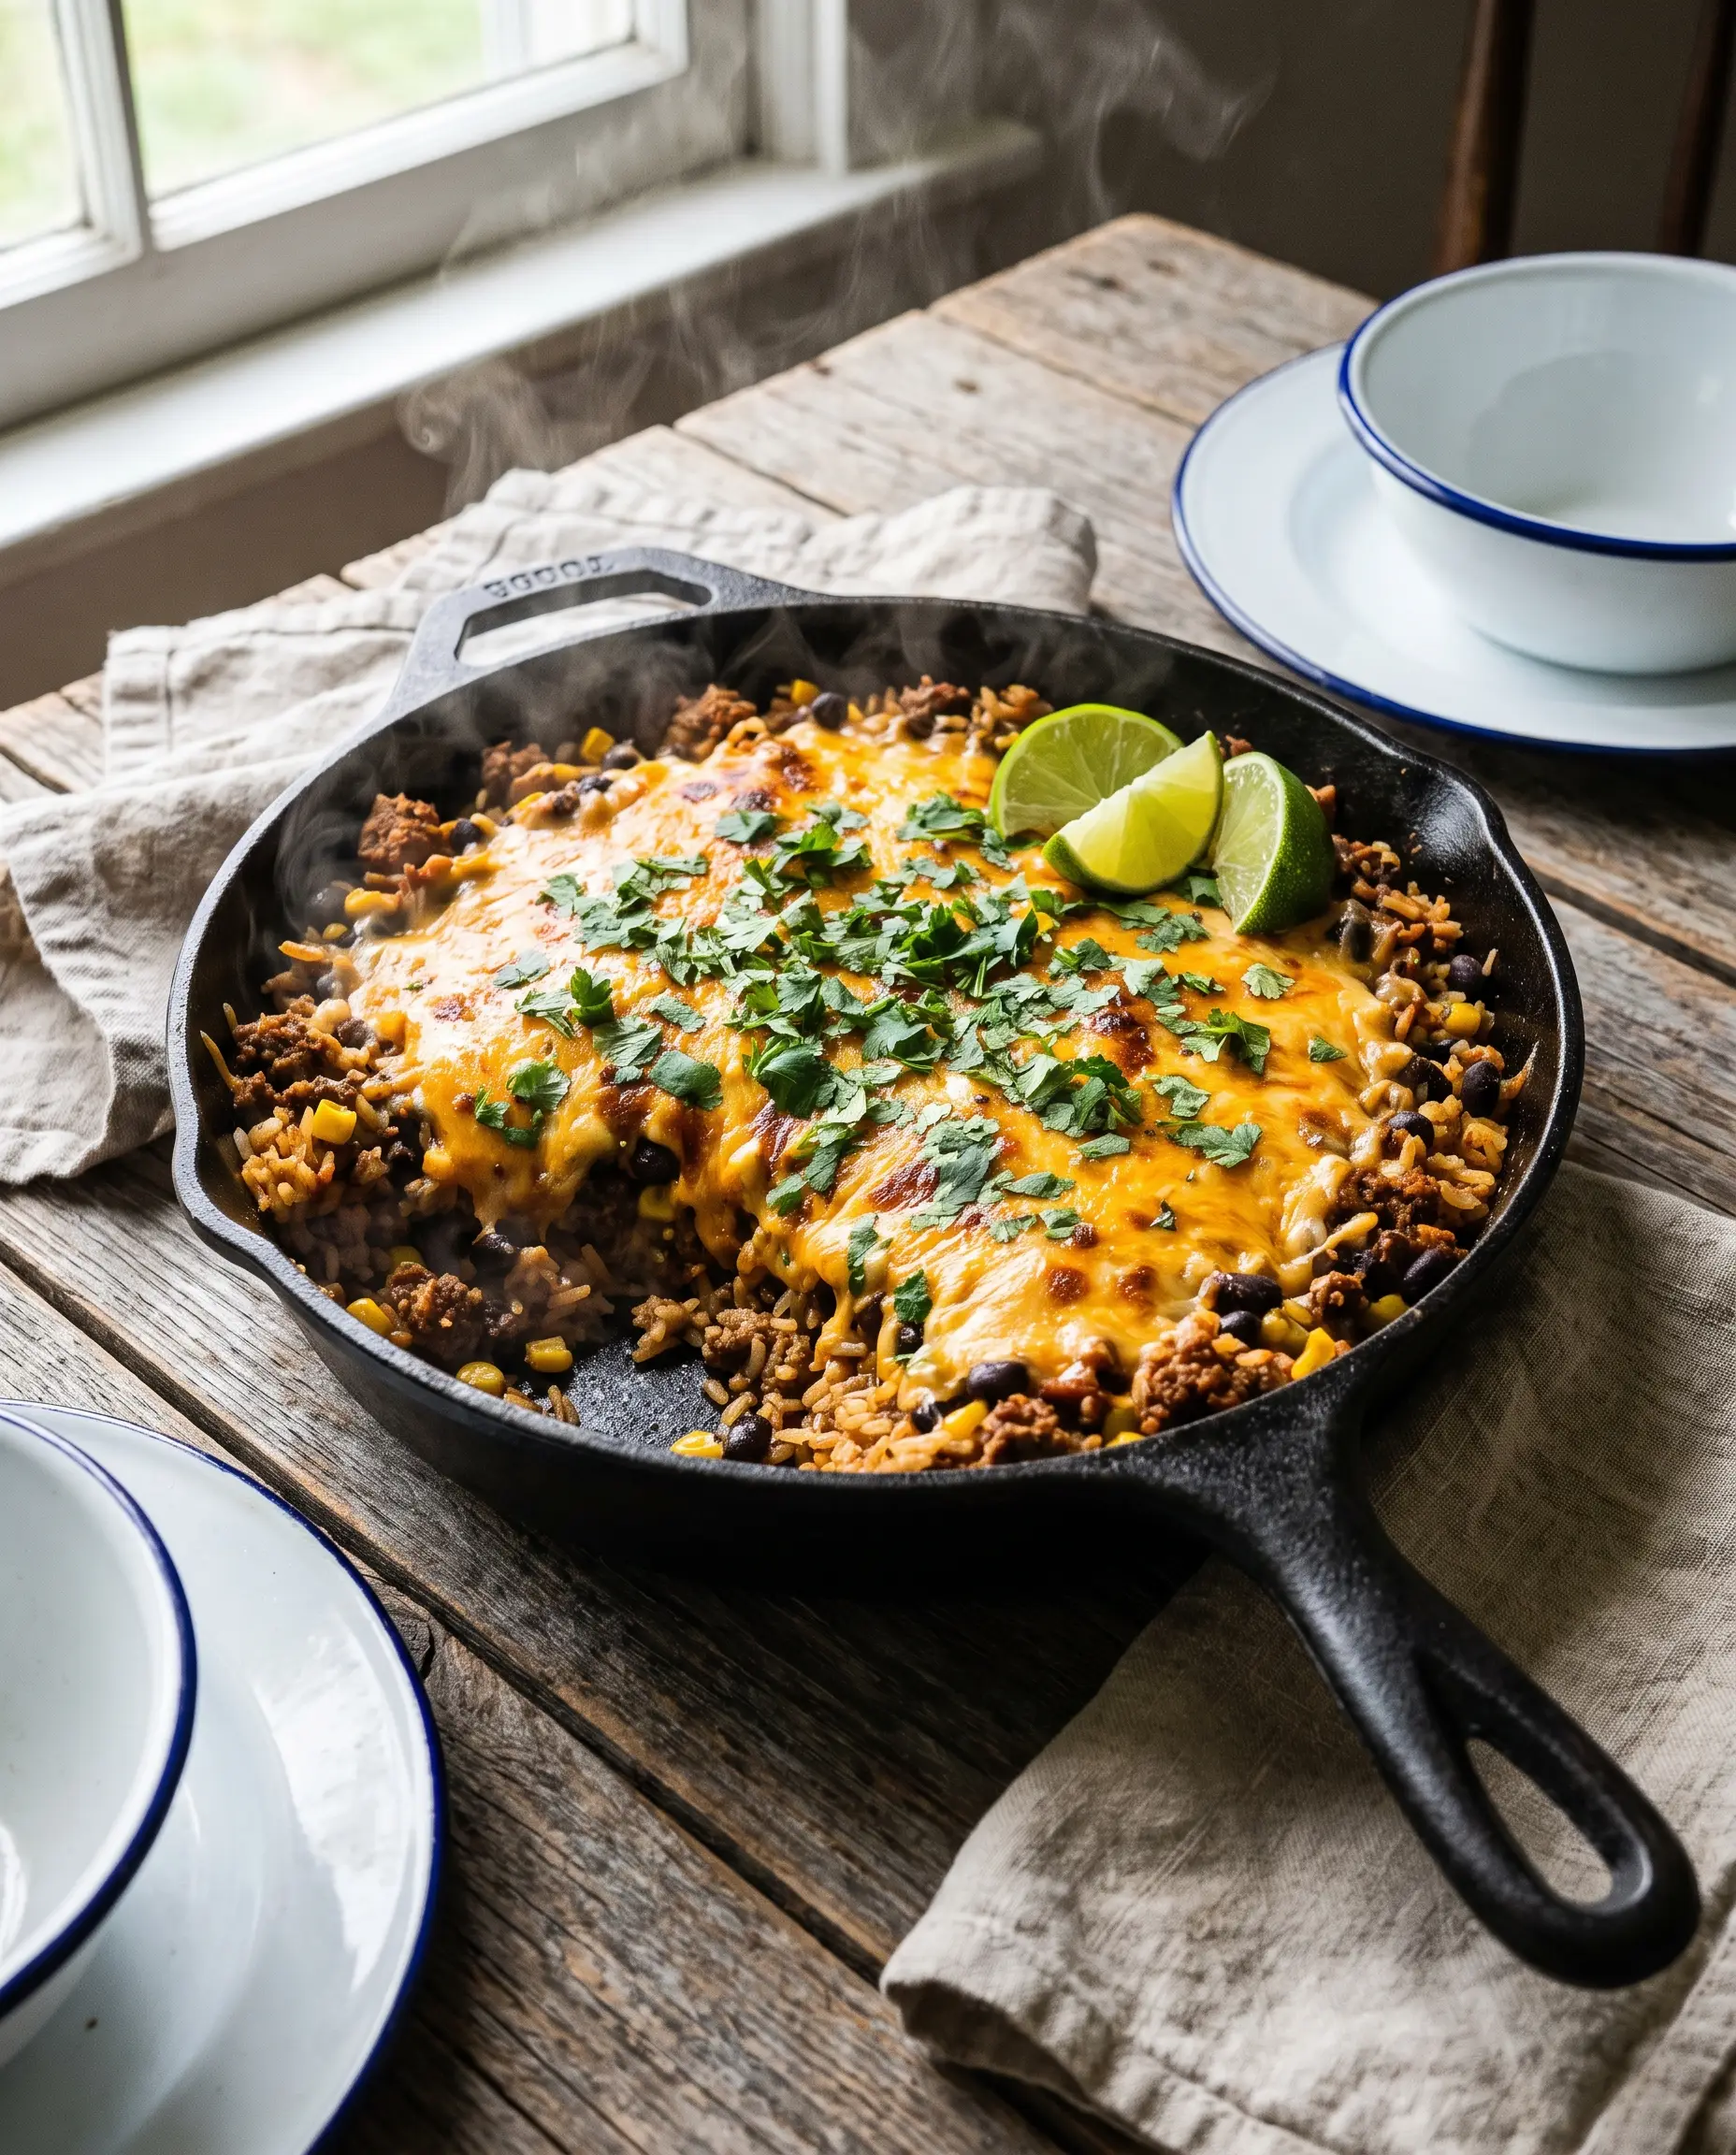
Some nights you want all the flavor of taco night without lining up ten little bowls and washing every pan you own. This beef taco skillet folds the whole fiesta - seasoned beef, rice, beans, corn and melty cheese - into one pan and about forty minutes.
It is the kind of dinner that looks like you fussed but really just simmered. Everything cooks together so the rice drinks up the taco-seasoned tomato, and that lid-on melt at the end pulls the whole thing into gooey, golden comfort.
The promise: one skillet, about forty minutes, and leftovers that reheat as well as the first serving.
How to make it
View ingredient overview

🧂 Ingredient notes & easy swaps
🍳 What you actually need (equipment)
Heat the olive oil in a large deep skillet over medium-high. Add the ground beef and cook, breaking it up, until browned, 5 to 6 minutes. Drain off excess fat if needed.
Add the onion and cook 2 minutes until it softens, then stir in the garlic and taco seasoning and cook 30 seconds until fragrant.
Stir in the rinsed rice and let it toast for 1 minute so every grain gets coated in the seasoned fat.
Pour in the diced tomatoes, tomato sauce and broth. Stir, scraping up any browned bits, and bring to a gentle boil.
Reduce the heat to low, cover, and simmer 15 to 18 minutes, until the rice is tender and most of the liquid is absorbed. Stir once halfway.
Fold in the black beans and corn, season with salt and pepper, then scatter the cheddar over the top. Cover for 2 minutes until the cheese melts, then let the skillet stand off the heat for 2 minutes so the sauce thickens enough to scoop. Finish with cilantro and a squeeze of lime.
✅ How to know it's done
It is ready when the rice is tender, the liquid is mostly absorbed, and the cheese is fully melted and glossy. An instant-read thermometer pushed into a cluster of beef should read at least 160°F (71°C) — ground beef must be cooked through, and after the 15-minute simmer it will be well past that.
💡 Practical tips (and what not to do)
- Rinse the rice first - unrinsed rice releases starch into the tomato liquid and the skillet turns sticky before the grains are tender.
- Brown the beef in a single layer without stirring for the first 2 minutes; the browned crust on the pan bottom dissolves into the sauce when the tomatoes go in.
- No beef broth? Use water plus an extra teaspoon of taco seasoning and a pinch of salt.
- If the rice is tender but the skillet still looks wet, uncover and simmer 2 to 3 minutes more before adding the cheese - the beans and corn will not absorb liquid.
- Double the batch in a Dutch oven rather than a skillet; a doubled rice layer in a 12-inch pan cooks unevenly.
🔁 Easy variations (budget · lighter · kids · extra flavor)
💛✨ Flavor boost
A tablespoon of tomato paste stirred in with the garlic deepens everything - its concentrated sweetness rounds out the sharp edge of canned tomatoes and gives the sauce a slow-simmered taste in 40 minutes.
Pile it high and let everyone build their own bowl.
- Scoop over crushed tortilla chips for a walking-taco night
- Top with avocado, sour cream and pickled jalapenos
- Spoon into warm flour tortillas for hand-held tacos
- Serve with a crisp shredded-lettuce and lime salad on the side
📦 Storage & Freezer Notes
- Fridge: cool and store in an airtight container up to 4 days.
- Freezer: freeze cooled portions up to 3 months; thaw overnight in the fridge.
- Reheat: covered, in a skillet over low heat with a splash of water, 6 to 8 minutes, stirring once - or microwave a portion with a tablespoon of water, covered, 2 minutes on high, stirring halfway. The water loosens the rice, which stiffens as it cools.
🧒 Serving Ideas for Kids
- Serve it in a shallow bowl with a spoon rather than in a taco shell: rice, beans and corn in one scoop is easier for small hands than a shell that shatters on the first bite.
- Keep it mild with half the taco seasoning, then add hot sauce at the table for the grown-ups.
- Leftovers pack well in a thermos for lunch: reheat with a spoonful of water until steaming, then seal; the rice stays soft for hours.
❓ Quick answers
Can I use pre-cooked rice?
Is this spicy?
Can I make it ahead?
What cheese works best?
🥗 Nutrition, roughly: About 520 calories and 28 g protein per serving. Estimates only; brands, cuts and portion sizes change the numbers.