Weeknight

Beef & Bean
Burritos

“Four for now. Four for future-you.”

Here's a promise with compound interest: make eight burritos tonight in the same 40 minutes it would take to make four. Eat half, wrap half for the freezer — and on some chaotic Thursday two weeks from now, dinner will already exist.

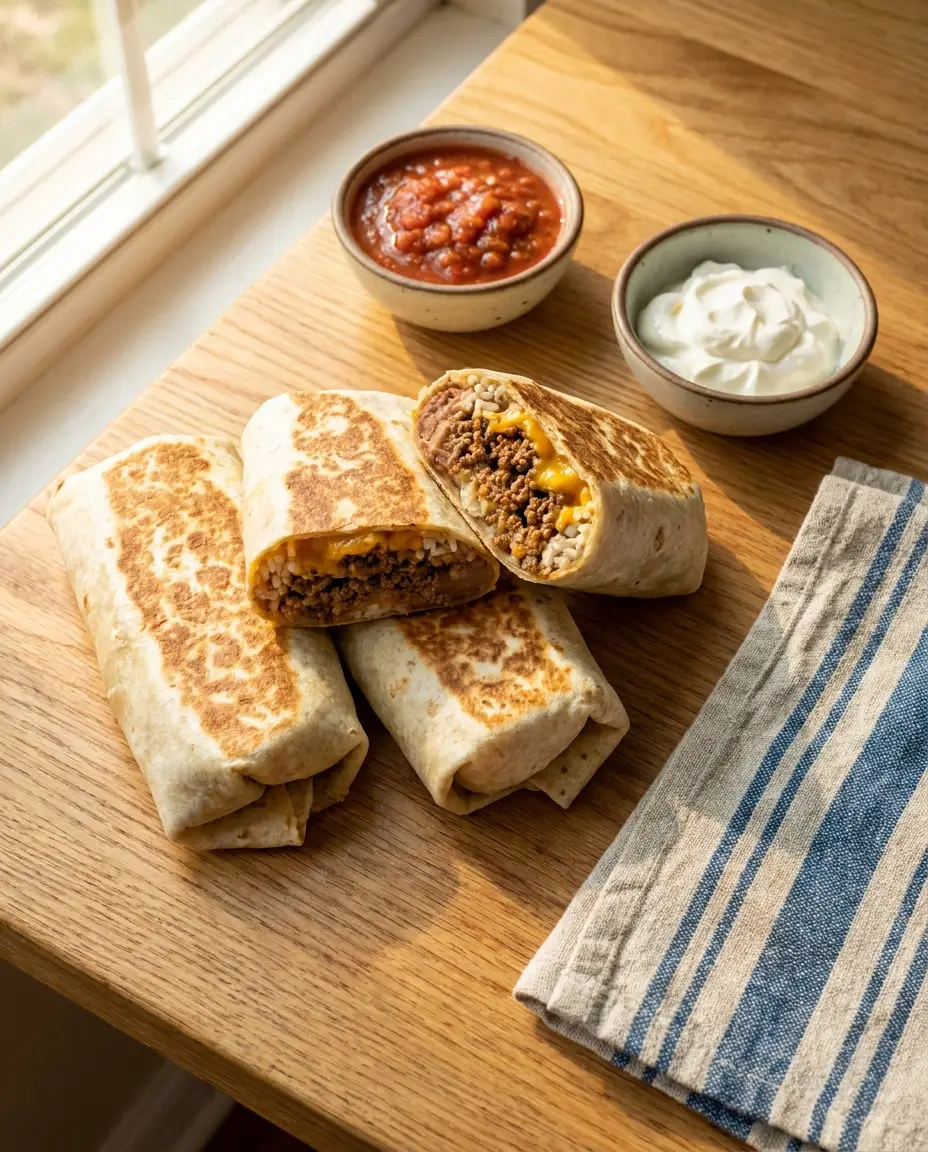
These are the golden, griddle-sealed kind: seasoned beef, creamy refried beans doing quiet structural work, rice, and cheese that melts into the seams. The two-minute toast at the end is what separates a burrito from a wrap — and a burrito night from a burrito habit.

🌯 The promise: eight golden, griddle-sealed burritos — 40 minutes, four dinners now, four dinners banked.
Prep 20 minCook 20 minTotal 40 minEasyMakes 8
← Back to recipes
Beef and Bean Burritos

How mom makes it

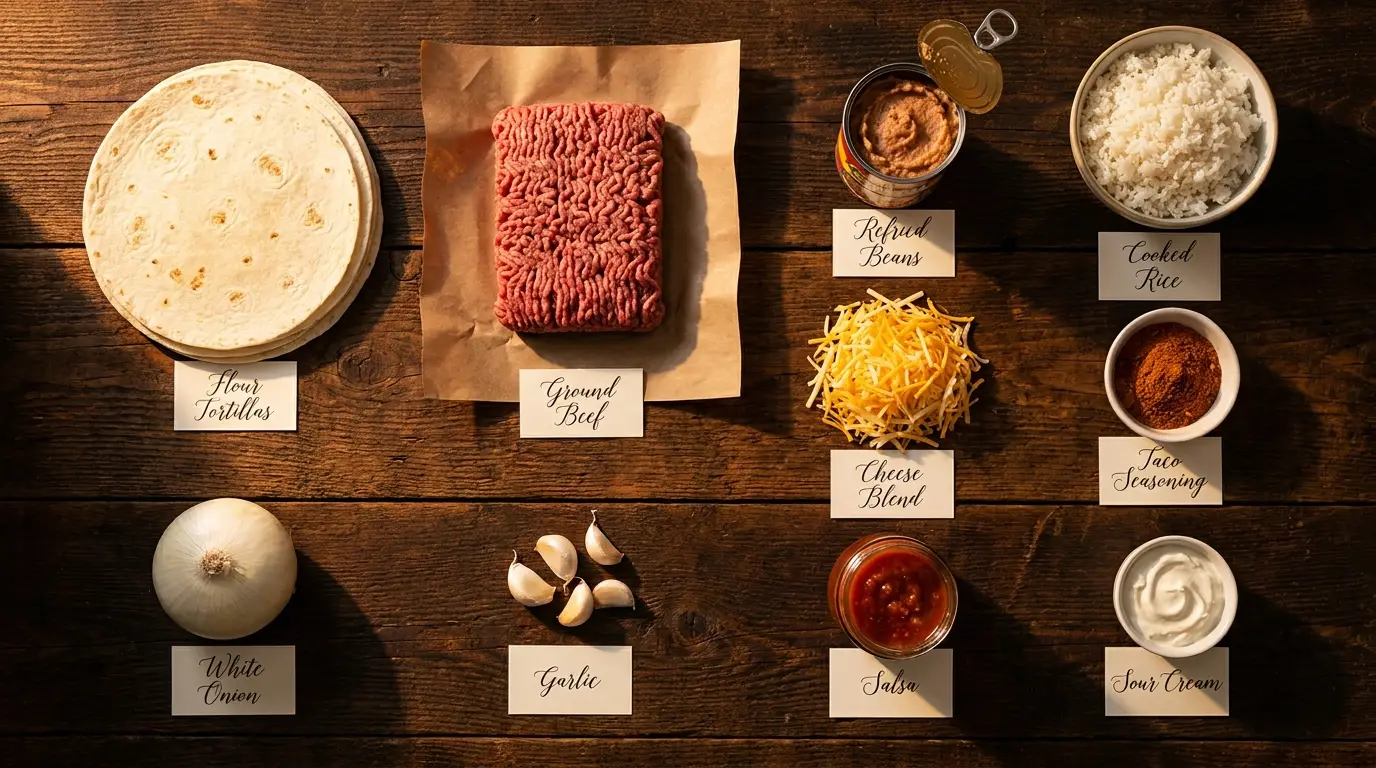
All ingredients for Beef and Bean Burritos, labeled
🧺 Everything you need, all in one look
🧂 Ingredient notes & easy swaps
Large 10-inch tortillas are non-negotiable — 8-inch ones can't close around a real filling, and an overstuffed small tortilla is how burritos become open-faced regret. Warm the beans so they spread like frosting; they're the glue layer that waterproofs the tortilla against the beef. Day-old rice keeps the filling from going gummy. And keep every filling WARM but not steaming-hot when you roll — steam trapped inside is where sogginess is born.
🍳 What you actually need (equipment)
One skillet for the beef, a griddle or second skillet for sealing, and foil squares if you're building the freezer stash. An assembly-line counter setup makes eight burritos feel like two.
  1. Brown the beef with the onion over medium-high until crusty in spots — 6 minutes. Add the garlic and taco seasoning with the water and simmer 2 minutes until it coats the meat like a sauce. Kill the heat.

  2. Warm the tortillas — 20 seconds each in a dry pan or 30 seconds in foil in a low oven. A warm tortilla rolls; a cold one cracks and files complaints.

  3. Set the line: tortillas, warm beans, rice, beef, cheese. Spread 2 tablespoons of beans on the lower third of each tortilla first — the bean layer is the moisture barrier everything else sits on.

  4. Layer rice, beef, and a generous pinch of cheese on the beans, keeping the pile in the lower third and leaving 2 inches (5 cm) of border on each side.

  5. Fold the sides in, then roll from the bottom, tucking tight as you go — snug enough to hold, loose enough not to tear.

  6. Sear each burrito seam-side DOWN on the lightly oiled griddle over medium, 2–3 minutes until golden, then flip for 2 more. The seam welds itself shut and the whole outside goes crisp. Rest 2 minutes; the cheese finishes the job inside.

✅ How to know it's done

The outside should show golden griddle patches and feel crisp to a tap, the seam sealed flat and invisible, and a cut burrito should hold its cross-section proudly — beans, beef, rice, and melted cheese in layers, no landslide. A pale, floppy burrito just needs another minute per side on the griddle.

💡 Mom's tips (and what not to do)

🔁 Easy variations (budget · lighter · kids · extra flavor)
💸 Budget: half the beef, double the beans — the flavor barely notices and the wallet does. 🥦 Lighter: ground turkey, brown rice, and load in sautéed peppers. 🧒 Kids: a lighter fill with just beans, rice, and cheese, rolled smaller — the quesadilla-burrito bridge. ✨ Extra flavor: a spoon of salsa stirred into the rice and a pinch of smoked paprika in the beef.

💛✨ Mom's secret ingredient

The seam-side-down sear. A rolled burrito is held together by hope; ninety seconds of griddle contact melts the tortilla's starches and the stray cheese at the seam into an actual weld. That's why restaurant burritos survive being eaten one-handed in a car and homemade ones traditionally don't. Two minutes, permanent structural integrity — it works for wraps and chimichanga-adjacent projects too.

🥑 What Goes Well With It

  • Salsa and sour cream for dunking — the classic escorts.
  • Smothered option: a ladle of warm slow cooker beef chili over the top with extra cheese, knife-and-fork style.
  • Corn chips and guacamole while the griddle finishes the batch.
  • Sliced oranges or mango on the side — the bright thing the plate wants.

📦 Storage & Freezer Notes

  • Fridge: wrapped, 4 days — re-crisp in a dry skillet, not the microwave, for best results.
  • Freezer: foil-wrap cooled burritos, then bag — 3 months. Label them unless mystery burrito roulette appeals to you.
  • Reheat from frozen: unwrap, microwave 2 minutes to thaw the middle, then 3–4 minutes in a hot skillet to bring the crust back. Straight-to-skillet works from the fridge.

🧒 Serving Ideas for Kids

  • Roll a couple of "starter burritos" — beans, rice, cheese only, half-size — for smaller hands and simpler palates.
  • Let them press the seam on the griddle count: "one-Mississippi to ninety."
  • Freezer burritos with their name on the foil = the proudest lunch in the freezer.

❓ Quick answers

How do I reheat frozen burritos without sogginess?
Unwrap fully (never microwave foil), microwave 2 minutes to thaw, then crisp 3–4 minutes in a dry skillet. The two-step is the whole secret.
Can I use chicken or turkey instead?
Either — shredded rotisserie chicken tossed with the seasoning and water is even faster than beef.
Why did my burrito fall apart?
Overfilled, cold tortilla, or skipped the seam-sear — the classic trio. Lower-third filling, warm tortilla, seam-side down.
Are these spicy?
Mild as written — standard taco seasoning is gentle. Heat lives in the salsa bowl, where each person controls their own destiny.

🥗 Nutrition, roughly: about 540 calories per burrito. Estimates only — future-you considers the frozen ones priceless.

🍽️ You might also like

← Every recipe