BBQ Chicken Drumsticks
with a Sticky Oven-Baked Glaze
“Grill flavor. Oven effort. Handles included.”
The oven provides steady heat for rendering drumstick skin before the sauce is added. Two thin coats of glaze then bake onto the surface without requiring an outdoor grill.
Here's the oven's case: a smoky dry rub, high heat, and BBQ sauce applied in TWO coats with time to bake on between them — the way paint gets layered, not poured. The result is that glossy, tacky, eat-around-the-bone finish that usually requires charcoal and a long afternoon.
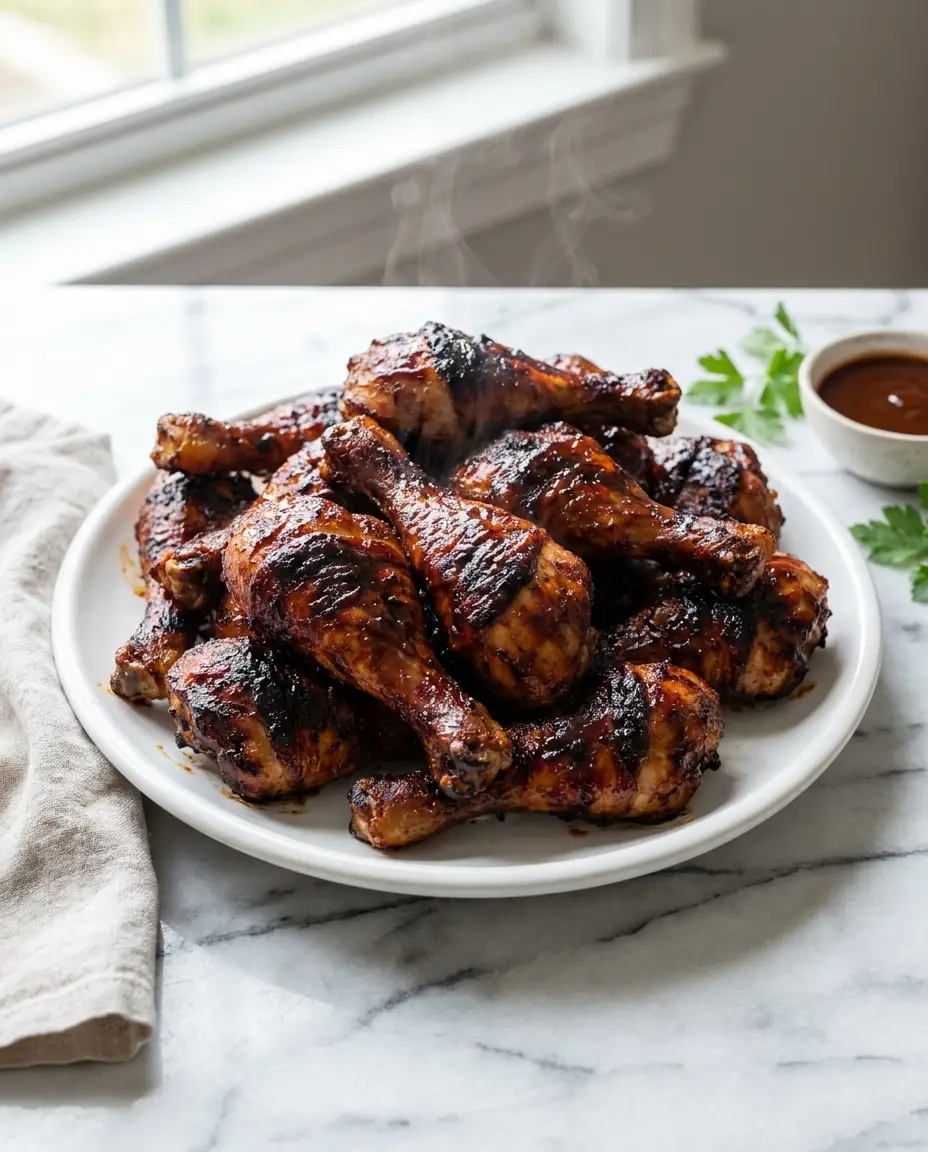
🍗 The promise: sticky, lacquered BBQ drumsticks with built-in handles — 10 minutes of your effort, 45 in the oven, 5 to rest.
How to make it
View ingredient overview
🧂 Ingredient notes & easy swaps
🍳 What you actually need (equipment)
Heat the oven to 425°F (220°C) and set a wire rack on a foil-lined rimmed sheet pan. Pat the drumsticks thoroughly dry with paper towels; skin that feels tacky-dry lets the rub grip and the fat render.
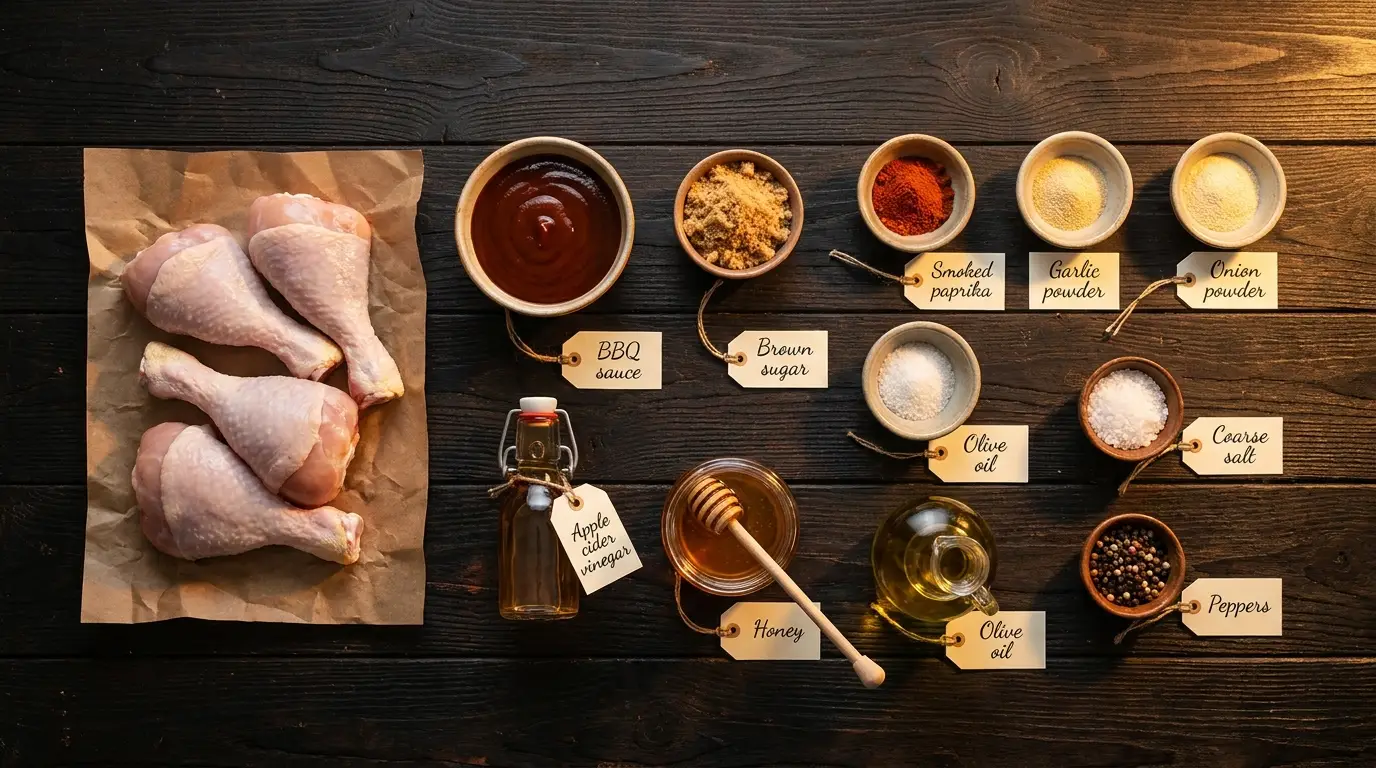
Toss the drumsticks with the oil, then with the mixed rub (smoked paprika, garlic powder, onion powder, brown sugar, salt, pepper) until every drumstick is coated rust-red all over.
Arrange on the rack with space between each drumstick and bake 25 minutes; by then the skin will have tightened and browned at the edges and the fat will be sizzling on the foil below.
Stir the BBQ sauce with the vinegar and honey. Brush the drumsticks with a thin first coat, all over, and bake 10 minutes so it sets into a tacky base.
Brush on a second coat and bake a final 8–10 minutes, until the glaze bubbles at the edges and turns glossy and dark in the hot spots.
Check the thickest drumstick with an instant-read thermometer next to the bone: chicken is safe at 165°F (74°C), but drumsticks are more tender at 180–185°F (82–85°C), when the connective tissue has melted. Rest 5 minutes on the rack; the glaze tightens from wet to sticky as it cools.
✅ How to know the drumsticks are done
Look for lacquered, glossy skin with a few charred-dark patches, sauce that is tacky to a fingertip rather than wet, and meat that has pulled back from the end of the bone. Measure with a thermometer, not by the color of the juices: poultry is safe at 165°F (74°C), but a drumstick pulled at exactly that is safe and chewy. Taken to 180–185°F (82–85°C) near the bone, the collagen around the bone has melted and the meat pulls away cleanly.
💡 Practical tips (and what not to do)
- Dry skin first, always. A patted-dry drumstick renders and crisps; a damp one steams under its rub.
- Rack over pan. Airflow underneath means no soggy underside and 360° color — foil below means zero scrubbing.
- Two thin coats beat one thick one. Sauce needs oven time to bake into lacquer; a single flood just slides off onto the foil.
- Aim for 180–185°F, not 165°F. Dark meat is full of connective tissue that only softens above about 175°F; this is why drumsticks taken just to the safe minimum feel tough at the bone.
- Rest before serving. Five minutes on the rack lets the glaze cool from a wet coating to a sticky one, so it stays on the chicken instead of on the plate.
🔁 Easy variations (budget · lighter · kids · extra flavor)
💛✨ Flavor boost
The spoonful of vinegar in the sauce. Bottled BBQ sauce is built sweet-first, and sugar alone bakes into a flat, candy-like coat. Acid resets the balance — it thins the sauce just enough to brush into layers, keeps the sweetness from cloying, and makes the glaze taste slow-cooked instead of poured-on. One spoon of cider vinegar upgrades any bottled sauce, on anything.
🌽 What Goes Well With It
- Corn on the cob or buttered corn kernels.
- A cool, crunchy vinegar slaw to cut the sweet, sticky sauce.
- Mac and cheese or potato salad for a cookout-style plate.
- A stack of napkins and a bowl on the table for the bones.
📦 Storage & Freezer Notes
- Fridge: airtight, up to 4 days. They are good cold, straight from the fridge, for lunches and picnics.
- Freezer: baked and glazed, up to 3 months. Thaw overnight in the fridge before reheating.
- Reheat on a rack at 375°F (190°C) for 12–15 minutes, until the glaze bubbles again and the center is hot; the dry heat re-sets the sugar in the sauce into a sticky coat. The microwave heats them through in 2–3 minutes but the steam turns the glaze runny and the skin soft.
🧒 Serving Ideas for Kids
- The bone makes a handle, so drumsticks are one of the easier chicken cuts for small hands.
- Children can brush on the second coat of sauce; pull the pan out of the oven and onto the stovetop first, and keep hands away from the rack.
- Wrap the bone end in a strip of foil for less sticky hands at the table.
❓ Quick answers
Can I use thighs or wings instead?
Why is my chicken tough near the bone?
Can I grill these instead?
Which BBQ sauce is best?
🥗 Nutrition, roughly: about 390 calories per serving (two to three drumsticks). Estimates only; brands, cuts and portion sizes change the numbers.