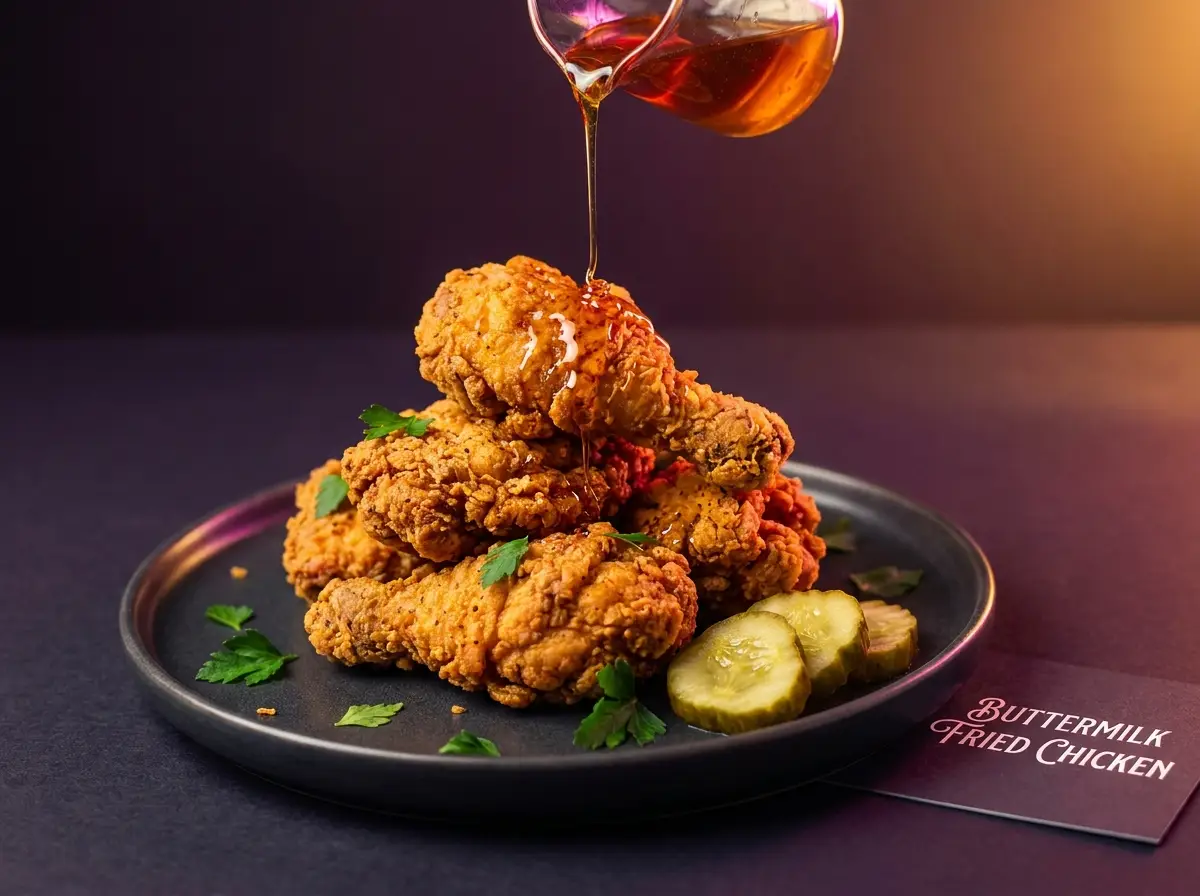
Buttermilk Fried Chicken with a Shatter-Crisp Crust
“Shatter-crisp outside, juicy inside.”
By Sok Heng Oeun, Founder and Reviewer · Published July 8, 2026 · Updated September 22, 2026
Fried chicken is a weekend project, and that is exactly the point — some Saturdays deserve a kitchen that smells like a county fair and a table that goes quiet on the first bite.
The secret is not in the frying; it is in the overnight buttermilk bath that seasons the chicken all the way to the bone. Plan ahead once and you will never go back.
🍗 The promise: a shatter-crisp golden crust and juicy chicken all the way through — worth the wait, every time.
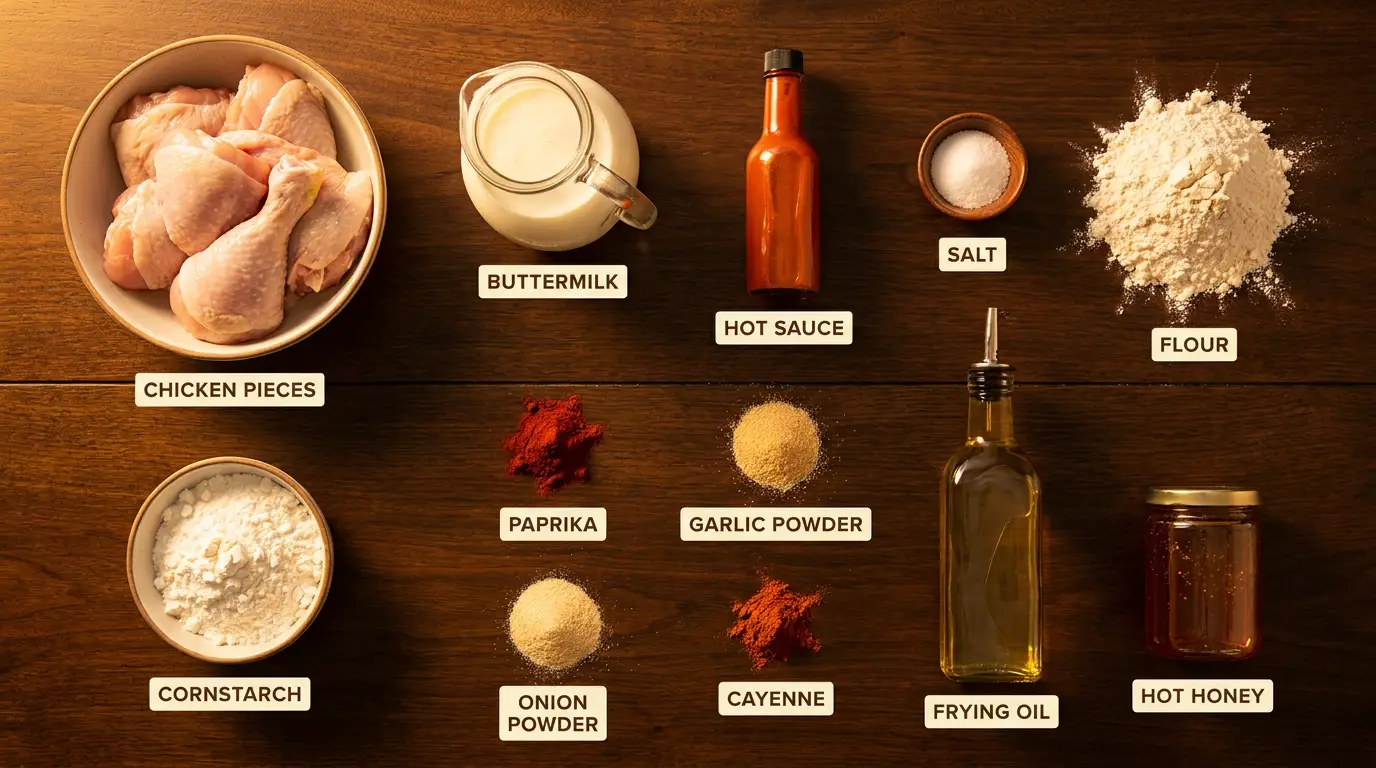
🧺 Everything you need, all in one look🧂 Ingredient notes & easy swaps
Buttermilk does the heavy lifting — its gentle acidity tenderizes overnight. No buttermilk? Milk plus 1 tbsp (15 ml) lemon juice, rested 10 minutes. Dark meat is the most forgiving for first-timers. Double-dip in the seasoned flour for a thicker, craggier crust; a single dredge gives a thinner, more even shell if you prefer that.
🍳 What you actually need (equipment)
A heavy deep pot or Dutch oven, a cooking thermometer (the honest secret to fried chicken), tongs, and a wire rack set over a sheet pan — never paper towels, they steam the crust soft.
Whisk the buttermilk, hot sauce, and brine salt in a large bowl. Submerge the chicken, cover, and refrigerate at least 4 hours or overnight (up to 24 hours).
Whisk the flour, cornstarch, paprika, garlic powder, onion powder, cayenne, and dredge salt in a wide bowl. Drizzle in 3 tablespoons of the brine and rub it in — those little clumps become the craggy bits.
Pull each piece from the brine, dredge hard, dip back in the buttermilk, and dredge again. Rest the coated pieces 15 minutes on a rack.
Pour 1½ inches of oil into a deep heavy pot and heat it to 325°F (163°C) on a thermometer. The temperature will drop when the chicken goes in; adjust the burner to bring it back to 325°F and hold it there.
Fry in batches of 3 or 4 pieces, 12 to 15 minutes for thighs and drumsticks, 10 to 12 for breasts, turning once, until deep golden and a thermometer reads 165°F (74°C) at the bone.
Rest the fried pieces on a wire rack, never paper towels — trapped steam softens the crust from underneath. Drizzle with hot honey just before it goes to the table so the crust stays crackly.
✅ How to know the chicken is done
The crust should be deep golden brown and a thermometer pushed into the thickest piece next to the bone must read 165°F (74°C) — color alone is not a safe test, because at 325°F the crust can look finished several minutes before a bone-in thigh is. Pale crust means the pot was crowded or the oil dropped well under 300°F; fry fewer pieces at a time.
💡 Practical tips (and what not to do)
Give the brine time. Four hours seasons the outside of a thigh; overnight lets the salt and buttermilk acid reach the bone, which is why the meat next to it tastes seasoned instead of plain.
Rest the dredged chicken 15 minutes before frying. The coating glues itself on and stops flaking off in the oil.
Hold the oil at 325°F (163°C). Hotter burns the crust before the middle cooks; cooler makes it greasy.
Don't crowd the pot. Three or four pieces at a time keeps the temperature steady and the crust crisp.
Rest fried chicken on a wire rack. Air underneath keeps the crunch you just worked for.
💸 Budget: drumsticks only — the cheapest cut and the easiest to fry evenly. 🥦 Lighter: oven method at 425°F (220°C) on a rack, sprayed with oil. 🧒 Kids: cut into tenders before brining — faster frying, built-in dipping shape. ✨ Extra flavor: 2 smashed garlic cloves and 1 teaspoon black pepper in the buttermilk brine.
💛 Flavor boost
The cornstarch in the dredge is the crunch insurance, and the splash of brine rubbed into the flour is where the craggy, extra-crispy shards come from.
🥕 What Vegetables Go Well With It
Corn on the cob with butter — the official summer pairing
A sharp vinegar slaw to cut through the crunch
Carrot and cucumber sticks with ranch on the side
Skillet green beans with a little bacon, because we're already celebrating
📦 Storage & Freezer Notes
Fridge: up to 4 days in a container lined with a paper towel to protect the crust.
Re-crisp: 10–12 minutes on a wire rack in a 400°F (200°C) oven, until the crust is dry to the touch and the meat is hot through. The microwave heats the moisture inside the chicken into steam, which softens the crust from within — it will come out limp.
Freezer: freeze fried pieces up to 2 months; reheat straight from frozen on a rack in a 400°F (200°C) oven, 20–25 minutes, until a thermometer reads 165°F (74°C) at the bone.
🧒 Serving Ideas for Kids
Cut into tender-size strips and serve with a honey dip cup for tiny hands.
Drumsticks are the natural kid piece — a built-in handle, and dark meat stays juicy even when it sits a few minutes while everyone else is served.
Set aside a pinch of the dry seasoning mix before it touches raw chicken and let them shake it over their own piece.
❓ Quick answers
Can I shorten the buttermilk soak?
Four hours is the minimum that still earns the name; overnight is where the seasoned-to-the-bone magic happens.
What oil should I use?
A neutral high-heat oil — peanut, canola, or vegetable. Save the olive oil for the salad next to it.
Why did my coating fall off?
The chicken went in wet or skipped the rest. Dredge, rest 15 minutes, then fry — it will hold.
🥗 Nutrition, roughly: about 610 calories per serving. Estimates only; brands, cuts and portion sizes change the numbers.
Published by MommyCooking.org. This AI-assisted recipe passed automated checks for page consistency and required image files. The publisher confirms this recipe was tested before publication. The food images are AI-generated illustrations, not photographs of a cooking session. Cooking temperatures should be checked with a food thermometer; nutrition figures are estimates. How we make recipes · Report a problem with this recipe