🍲 0%
Comfort

Sunday Pot Roast
with Fork-Tender Beef and Rich Gravy

“Fall-apart tender. Zero fuss.”

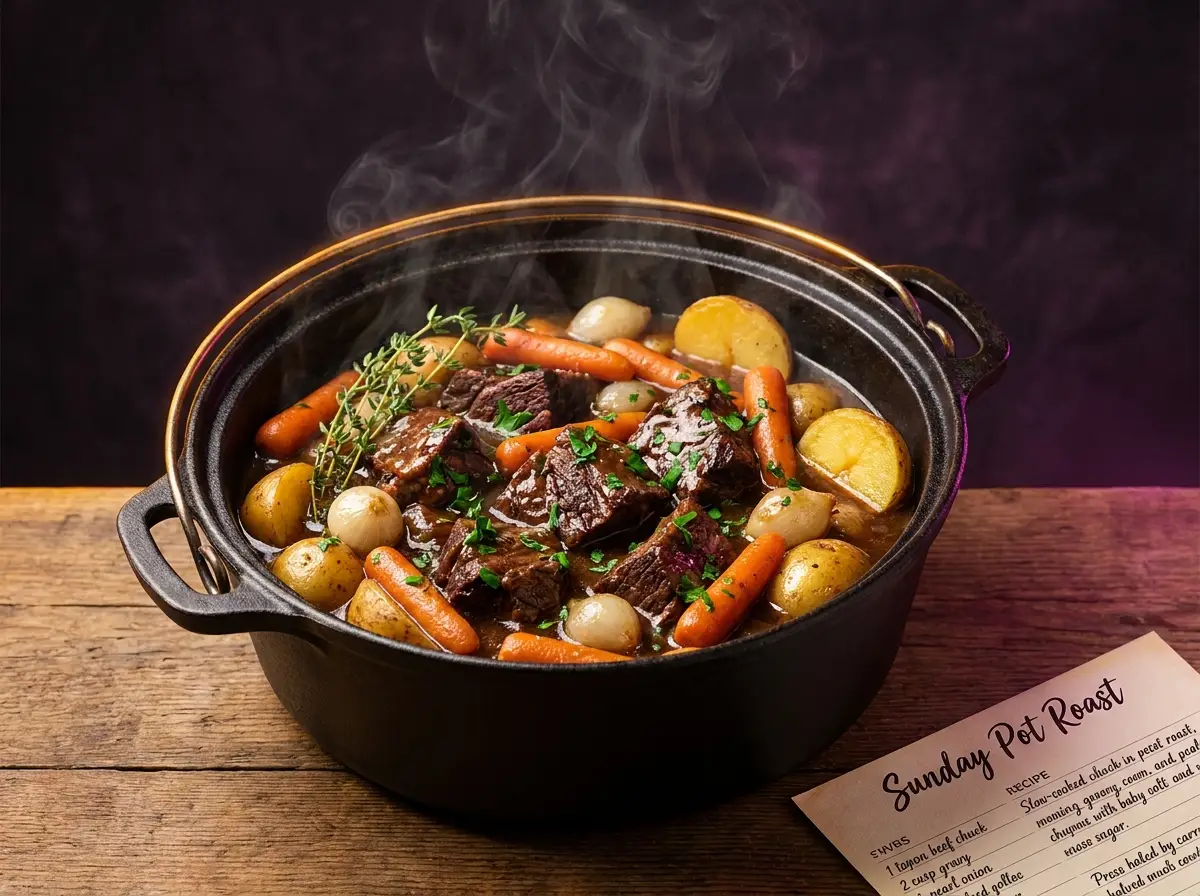
Some Sundays call for a dinner that cooks itself while you fold laundry, referee the living room, and maybe steal a nap. This is that dinner — everything goes into one pot, the oven does the thinking, and the house slowly fills with the smell of something worth waiting for.

This roast uses low, steady oven heat to soften a well-marbled cut while carrots, onions, and potatoes cook in the same pot. Browning the meat first and resting it before slicing improve both the gravy and the final texture.

🍖 The promise: fork-tender beef, rich savory gravy, and soft golden vegetables — one pot, about 20 minutes of real work.
⏱ Prep 20 min 🔥 Cook 3 hr 40 min ⏳ Total 4 hr 💪 Easy 🍽 Serves 6
← Back to recipes
Sunday Pot Roast

How to make it

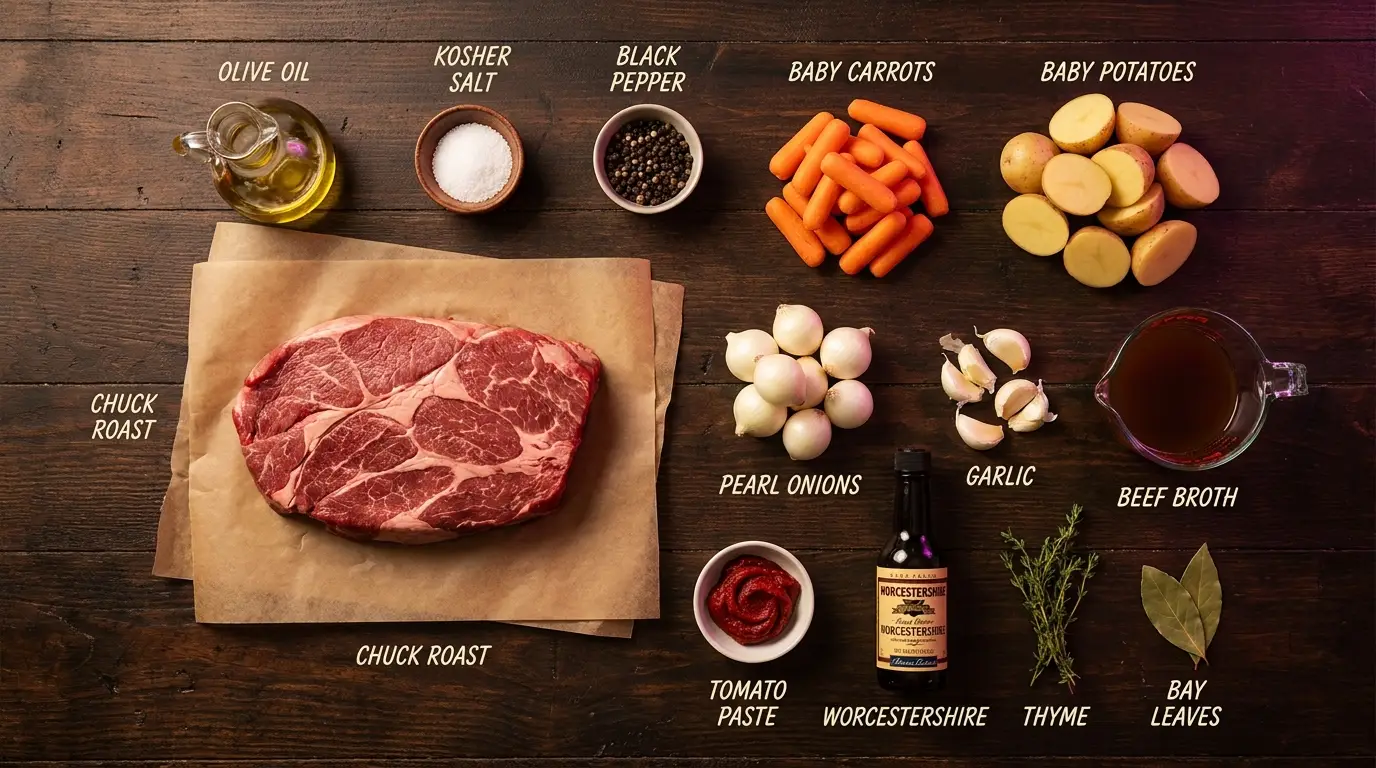
All ingredients for this recipe, labeled
🧺 Everything you need, all in one look
🧂 Ingredient notes & easy swaps
Chuck roast is the star — its marbling melts into the gravy. Bottom round works too (leaner: slice it, don't shred it). Tomato paste gives the gravy its deep color; 2 tbsp ketchup works in a pinch. Worcestershire adds savory depth — 1 tbsp soy sauce is a fine swap. No pearl onions? Two quartered yellow onions are perfect. Dried thyme (1 tsp) can stand in for fresh.
🍳 What you actually need (equipment)
A heavy Dutch oven with a lid (5.5 qt or bigger) — or any deep oven-safe pot with a tight lid. Tongs, paper towels for drying the roast, and a fork for the happiness test at the end. That's it.
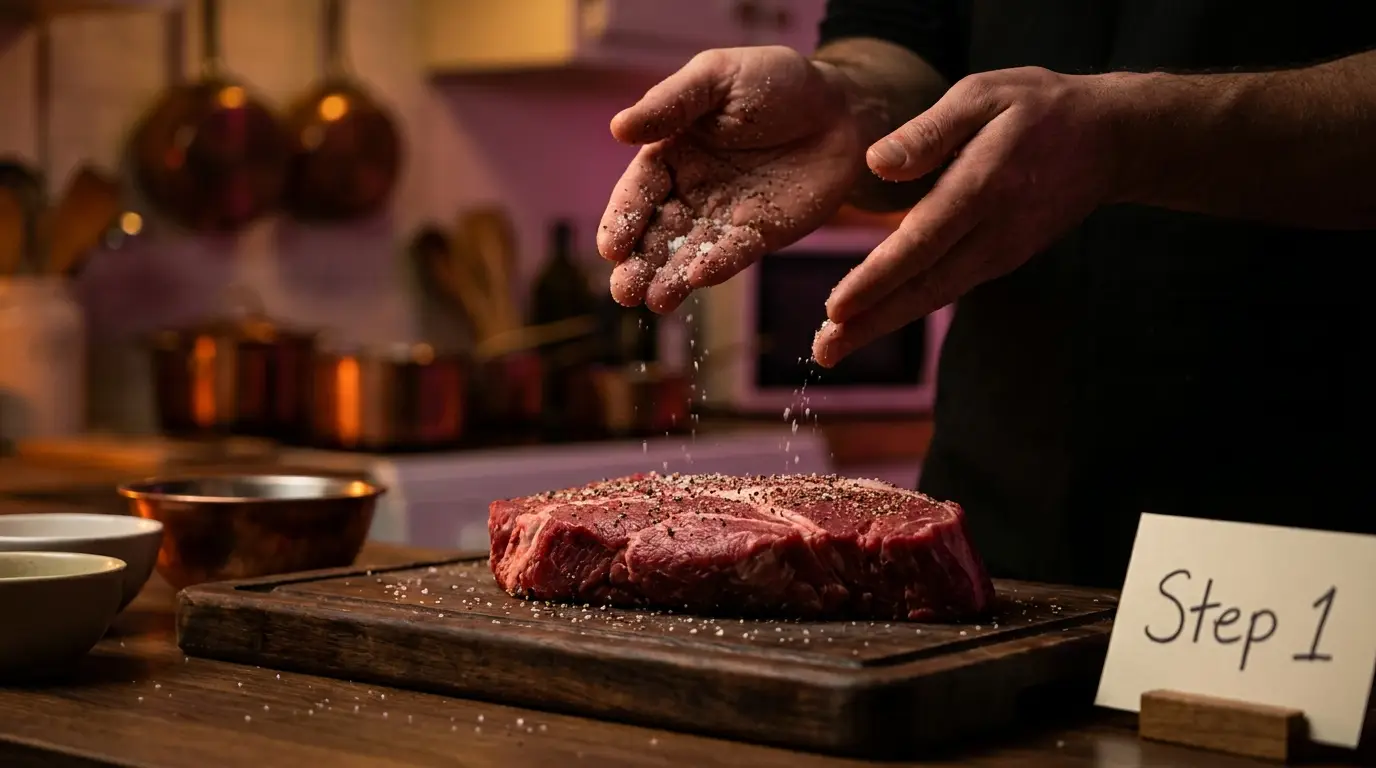
  1. Heat the oven to 300°F (150°C). Pat the roast completely dry with paper towels — a dry roast browns, a wet one steams. Then season every side generously with the salt and pepper, pressing it in so it sticks.

    Step 1
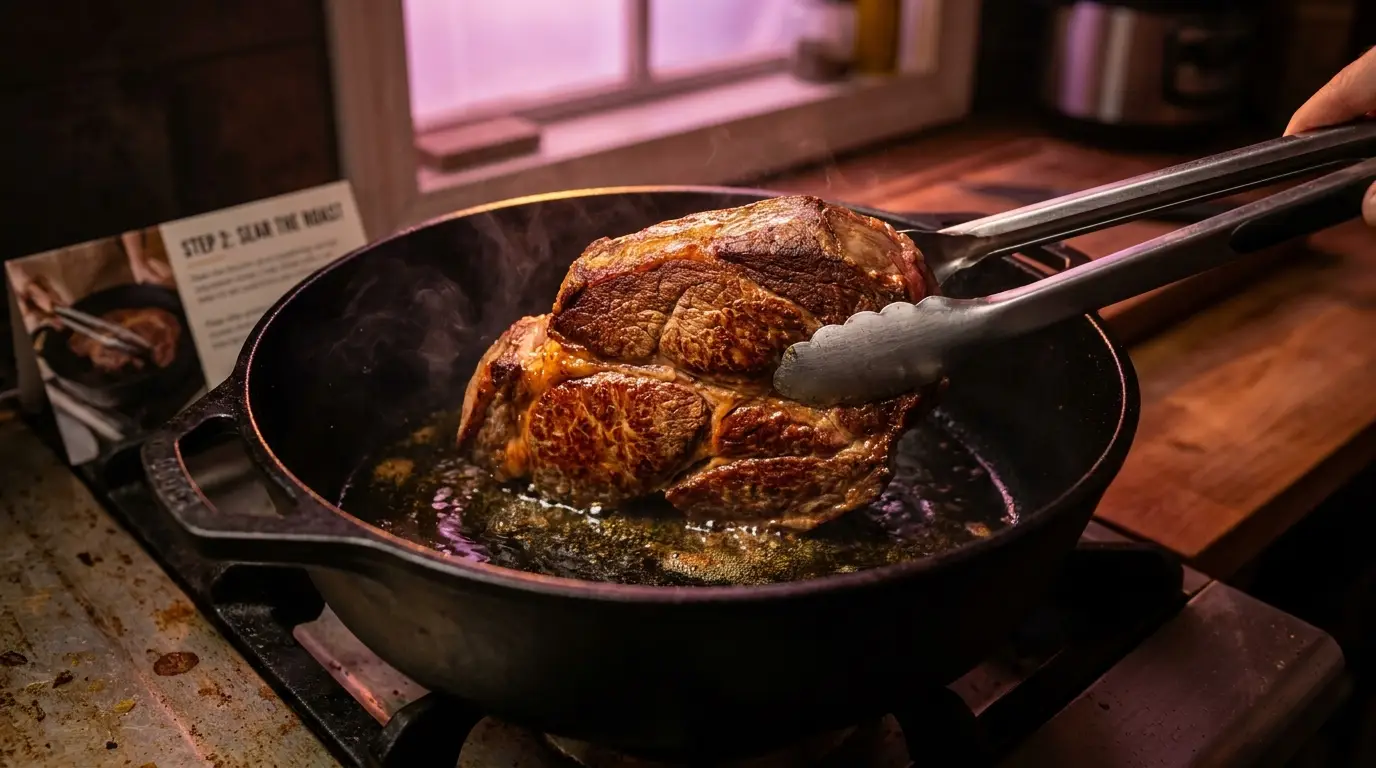
  2. Heat the oil in a heavy Dutch oven over medium-high until it shimmers. Sear the roast 4–5 minutes per side, until each side is a deep walnut brown. Don't rush this part — that crust is the flavor bank your gravy borrows from later.

    Step 2
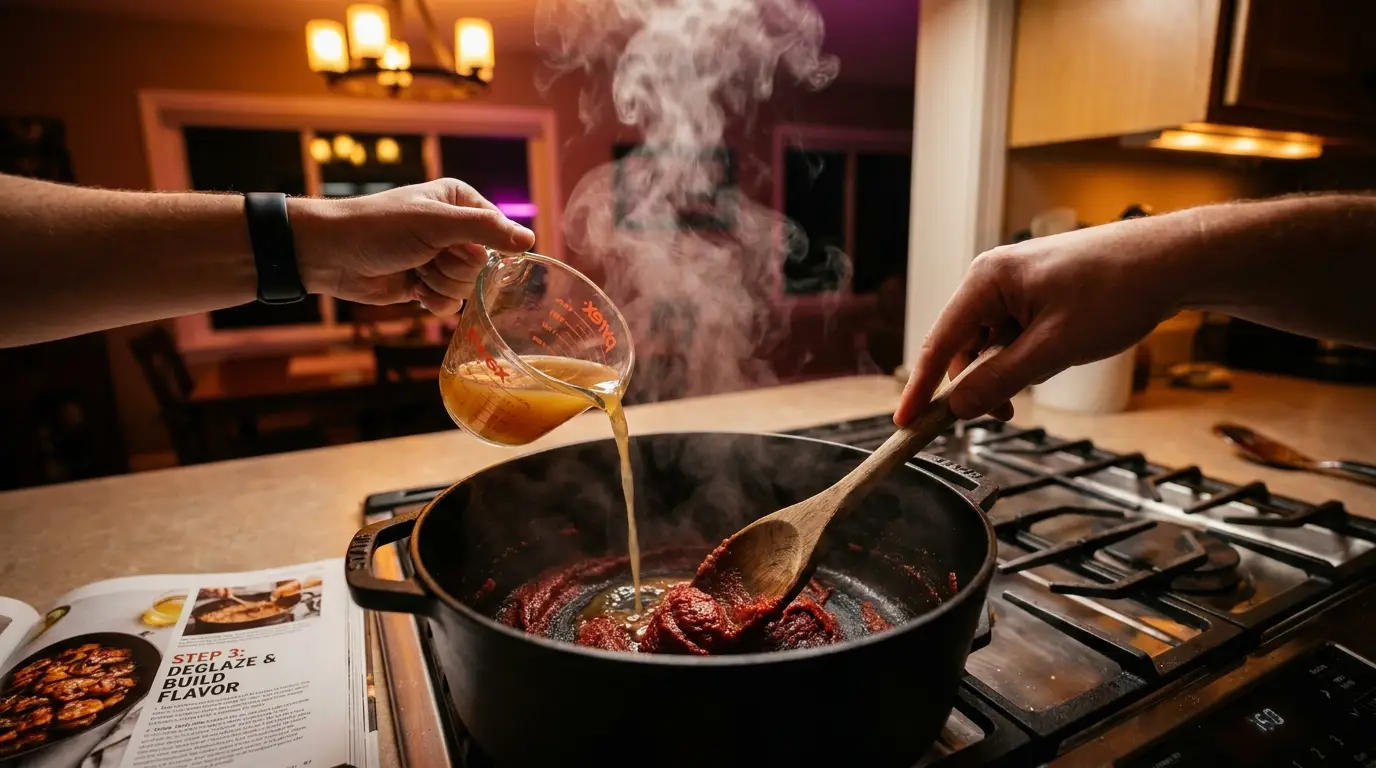
  3. Move the roast to a plate. Stir the tomato paste into the drippings and cook about 1 minute, until it turns brick-red and smells sweet instead of sharp. Pour in the broth and Worcestershire, scraping up every browned bit on the bottom — that's flavor, not burnt.

    Step 3
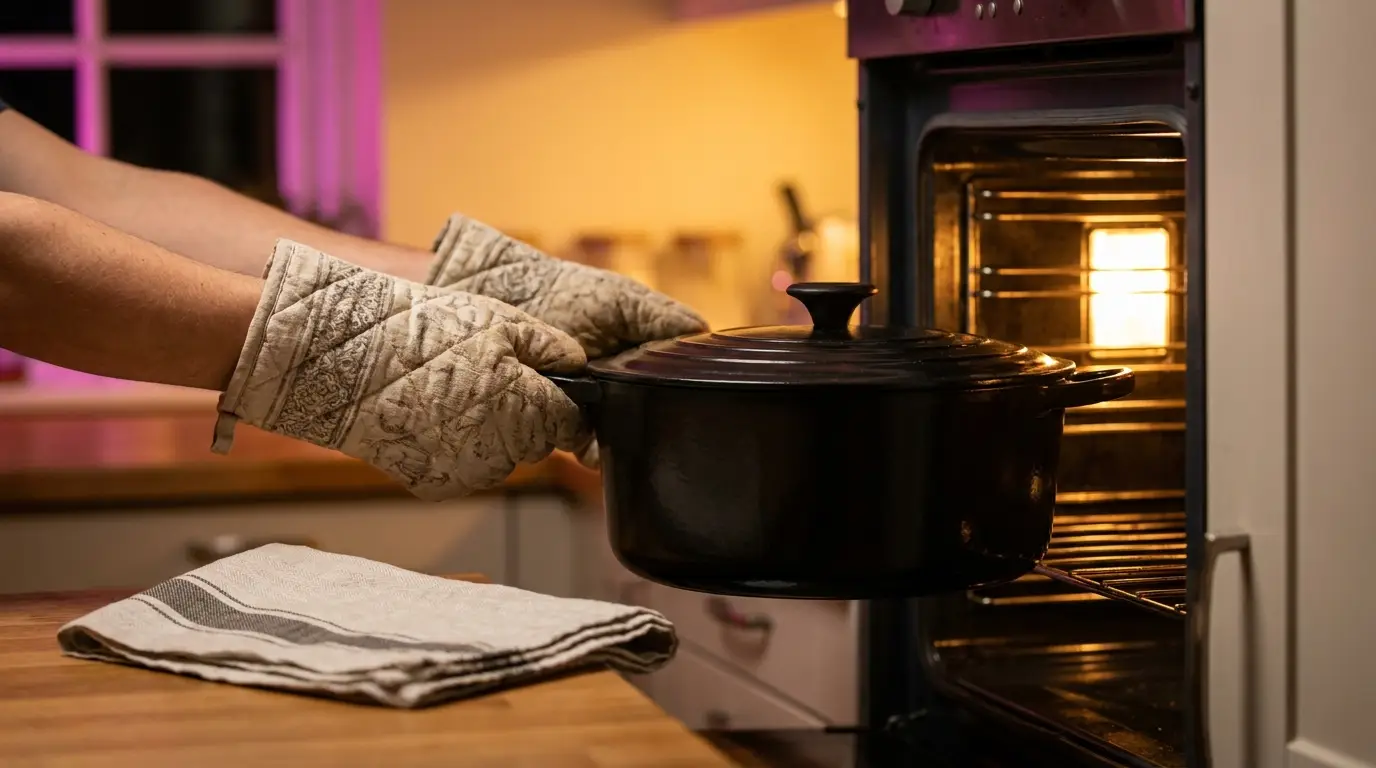
  4. Nestle the roast back in and tuck the onions and garlic around it. Add the thyme and bay leaves. The liquid should come about halfway up the meat — wading, not swimming. Cover and slide into the oven for 2 hours.

    Step 4
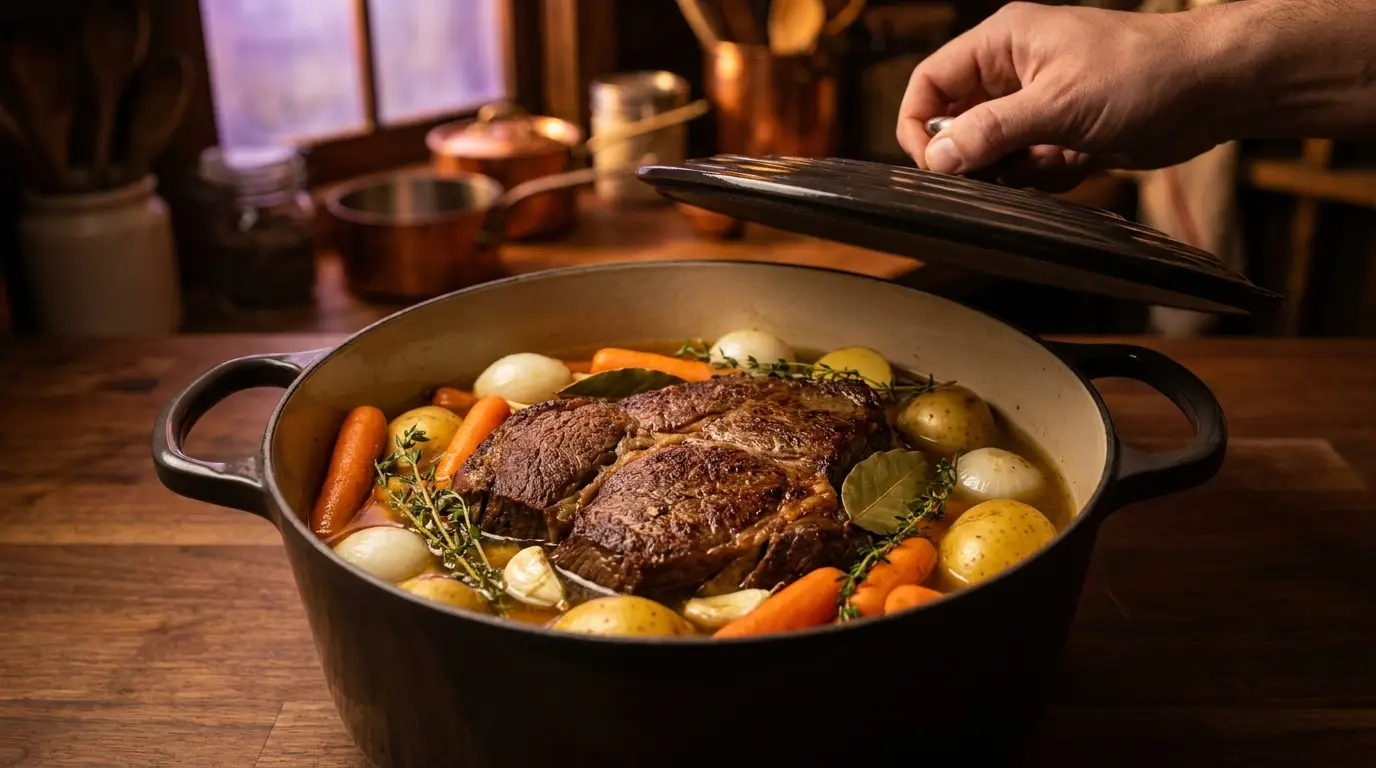
  5. Add the carrots and potatoes around the roast (added earlier, they'd turn to mush). Cover again and cook 1 to 1¼ hours more, until a fork slides into the beef with almost no push-back.

    Step 5
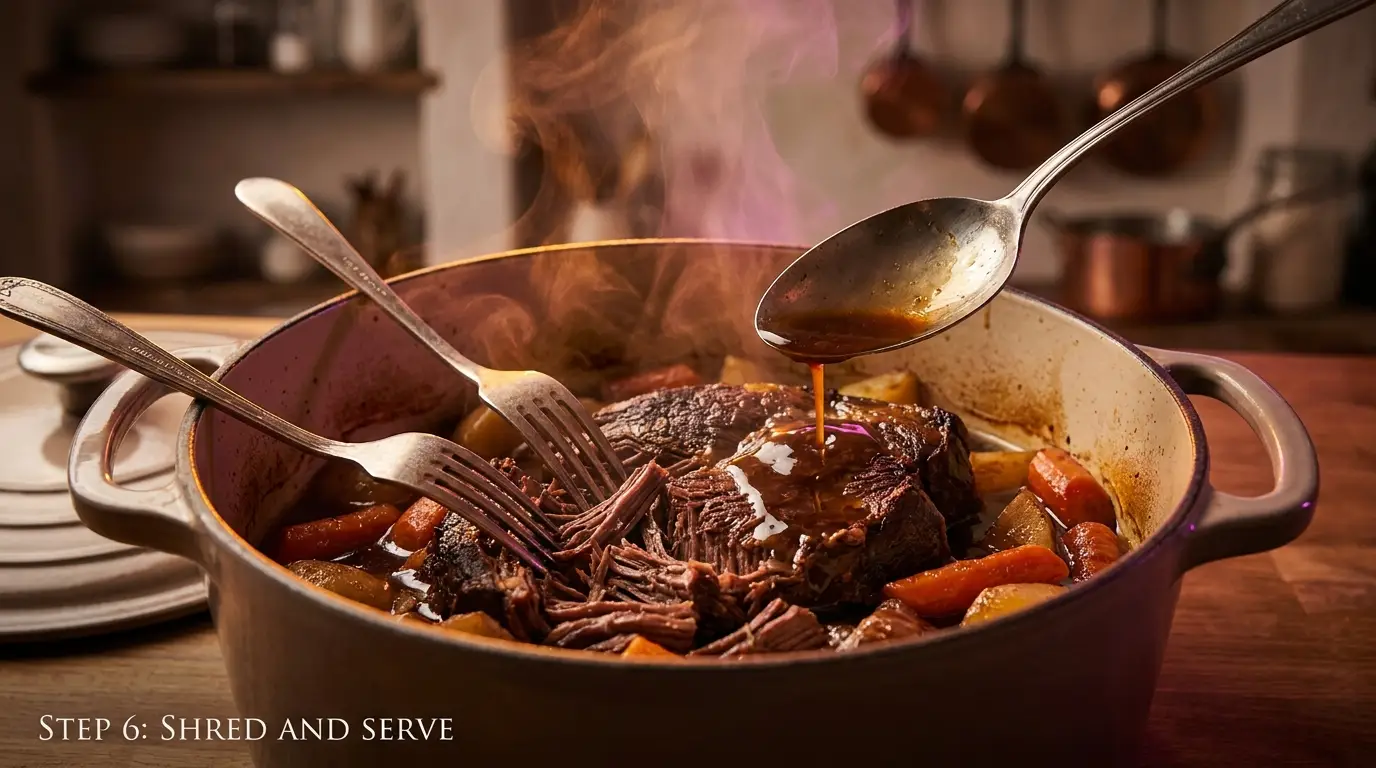
  6. Rest 15 minutes with the lid cracked so the juices settle back in. Fish out the thyme stems and bay leaves, then serve straight from the pot — big juicy shreds, gravy over everything.

    Step 6

✅ How to know the roast is done

A fork twisted in the center should pull the meat apart in soft strands with almost no effort. The gravy turns glossy and deep brown, and the potatoes give instantly to a knife. Beef is safe to eat at 145°F (63°C) with a 3-minute rest, but a chuck roast is not tender there: the collagen only melts into gravy once the center reads about 200–205°F (93–96°C) on a thermometer, which is what the fork test is checking. If the beef fights the fork, it isn't overcooked — it just needs another 20–30 minutes. Tough means "not yet," never "ruined."

💡 Practical tips (and what not to do)

🔁 Easy variations (budget · lighter · kids · extra flavor)
💸 Budget: bottom round instead of chuck, regular onions, extra potatoes to stretch the gravy. 🥦 Lighter: trim the big fat pockets, low-sodium broth, half the salt, double the carrots. 🧒 Kids: slice the meat small and serve the gravy in little dipping cups. ✨ Extra flavor: swap 1 cup (240 ml) of broth for dry red wine when deglazing, finish with 1 tbsp balsamic.

💛✨ Flavor boost

Anchovy paste, optional: half a teaspoon stirred in with the tomato paste. It dissolves completely and adds glutamates, the same savory compounds the browned crust and the Worcestershire supply, so the gravy tastes like it simmered for two days instead of three hours. Nobody tastes fish.

🥕 What Vegetables Go Well With It

  • Extra roasted parsnips tossed right in the pan juices
  • Steamed green beans with a squeeze of lemon to cut the richness
  • Buttered sweet corn for the kids' corner of the table
  • A crisp little side salad — the gravy needs an opponent

📦 Storage & Freezer Notes

  • Fridge: keeps beautifully in its gravy for up to 4 days — it honestly tastes better on day two.
  • Freezer: freeze meat and vegetables IN the gravy for up to 3 months; the gravy protects the meat from drying out.
  • Reheat: covered, in its gravy, with a splash of broth — 300°F (150°C) oven for about 20 minutes, or a covered pot over low heat for 10 minutes. High heat drives the moisture back out of already-braised beef and makes it stringy and dry.

🧒 Serving Ideas for Kids

  • Shred the leftovers into little slider buns — Sunday roast becomes Monday's favorite dinner.
  • Serve the gravy in a tiny cup for official 'dipping rights.'
  • Build a mashed potato volcano and let them pour the gravy lava themselves.

❓ Quick answers

Can I make this in a slow cooker?
Yes — sear on the stove first (don't skip it), then LOW 8–9 hours or HIGH 5–6, adding the carrots and potatoes for the last 2 hours.
Why did my pot roast come out tough?
It simply wasn't in long enough. Tough braised beef is undercooked, not overcooked — lid back on, 30 more minutes, test again.
How do I make the gravy thicker?
Lift out the meat and vegetables, then simmer the liquid a few minutes on the stove — or whisk in 1 tbsp cornstarch mixed with 2 tbsp cold water and simmer 1 minute.
How should I reheat leftovers?
Low and gentle, always with gravy: covered in a 300°F (150°C) oven with a splash of broth for ~20 minutes, or slices in the microwave with gravy spooned over, covered, 60–90 seconds.

🥗 Nutrition, roughly: about 480–540 calories and ~40 g protein per serving with vegetables and gravy. Estimates only; brands, cuts and portion sizes change the numbers.

Published by MommyCooking.org. This AI-assisted recipe passed automated checks for page consistency and required image files. The publisher confirms this recipe was tested before publication. The food images are AI-generated illustrations, not photographs of a cooking session. Cooking temperatures should be checked with a food thermometer; nutrition figures are estimates. How we make recipes · Report a problem with this recipe

🍽️ You might also like

← Every recipe