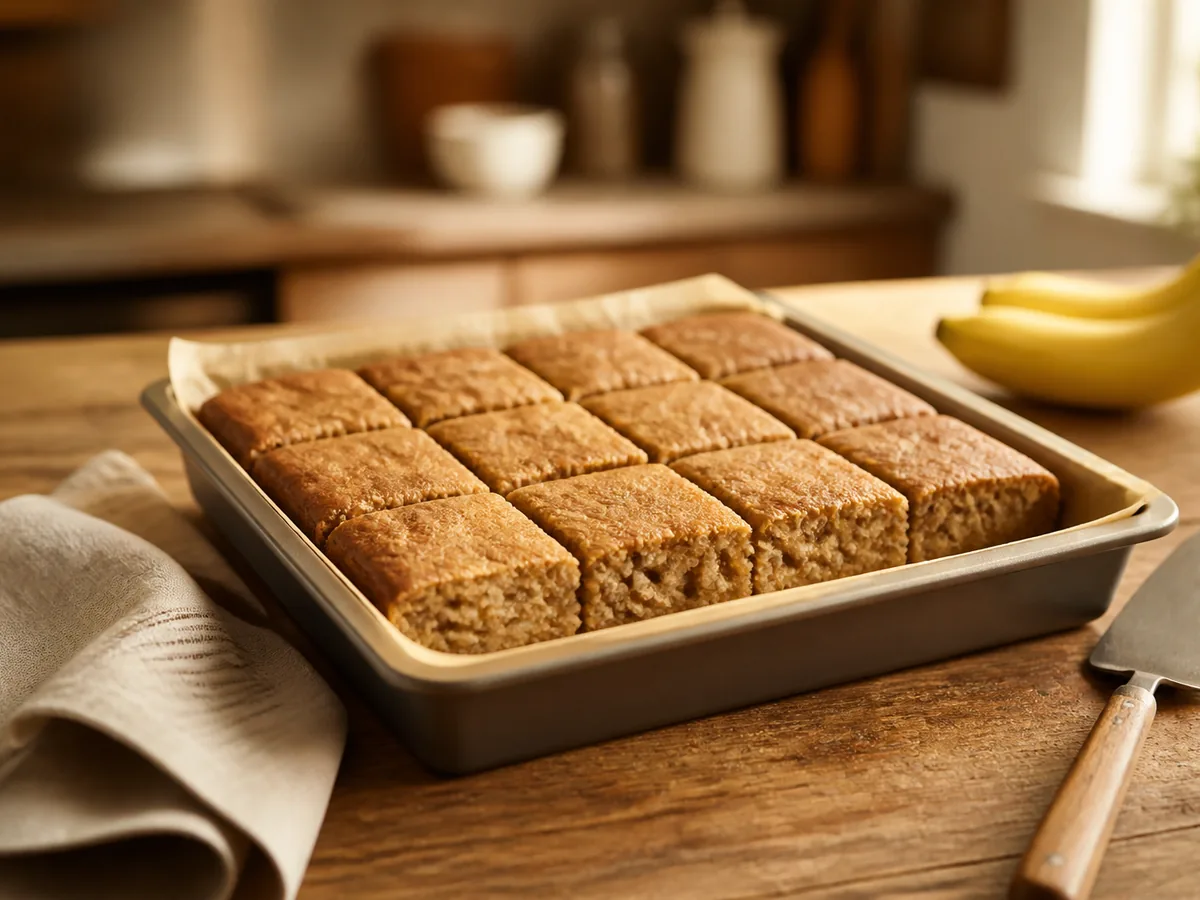
“A thin banana-honey dough bakes into graham-like squares that become crisp only after cooling.”
Published by MommyCooking.org · Published September 30, 2026
Homemade graham crackers sound fussy and are not: a small pan, a couple of bowls, a sheet pan, and a rolling out you can manage with a spatula. A single banana both sweetens and softens the dough, so there is less honey here than a standard graham recipe needs. They crisp as they cool rather than in the oven.
Thickness is the whole thing. A quarter inch bakes into a cracker, and anything thicker stays cakey in the middle however long it goes. Cut the slab while it is still warm, because a cooled one shatters unpredictably. And judge crispness only after twenty minutes on the rack, since they leave the oven soft.
🍌 The promise: Deep golden edges, a firm center, and a clean snap that only arrives after twenty minutes on the rack.
🍌 Everything you need, all in one look🧂 Ingredient notes & easy swaps
Whole-wheat flour gives graham crackers their character, and all-purpose makes something blander and paler. The banana needs to be properly ripe, because an underripe one brings starch and very little sweetness. Honey sets firmer than maple syrup, which would leave the squares chewy. Coconut oil substitutes for the butter with no other adjustment.
Two observable actions create crisp-edged graham squares with banana aroma: whisk whole-wheat flour, cinnamon, baking powder, and salt; then cut graham squares and bake 18–24 minutes until edges darken. The quantity fits the parchment-lined rimmed sheet pan without crowding during “Fold banana mixture into flour and roll dough between parchment,” helping crisp-edged graham squares with banana aroma develop evenly.
The “Cut graham squares and bake 18–24 minutes” stage carries the texture: cut graham squares and bake 18–24 minutes until edges darken; complete the final action—cool fully so the centers become crisp—to reach crisp-edged graham squares with banana aroma. Toast the cinnamon briefly, then whisk it evenly through the whole-wheat flour.
🍳 What you actually need (equipment)
rimmed sheet pan, parchment, a small pan for melting the butter, two mixing bowls, a fork, and a cooling rack
Position a rack in the center and bring the oven to 350°F (175°C), then line the rimmed sheet pan with parchment so the paper climbs the two long sides. Those overhangs become handles for lifting the slab out later.
Heat oven and line pan
Melt ¼ cup (56 g) butter in a small pan over low heat and pull it off the burner as soon as the last lump disappears. Stir in ⅓ cup (113 g) honey until the mixture pours in a smooth, glossy ribbon.
Melt butter with honey
Mash 1 banana (115 g) in a bowl with a fork until only pea-size lumps remain, then whisk in the warm honey butter. The base should look like loose caramel and smell strongly of ripe fruit.
Mash the ripe banana
Whisk 2 cups (240 g) whole-wheat flour, 1 teaspoon (2 g) cinnamon, 1 teaspoon (4 g) baking powder, and ¼ teaspoon (1.5 g) kosher salt together. Stir this dry blend into the banana mixture until a stiff, sandy dough forms.
Combine the dry blend
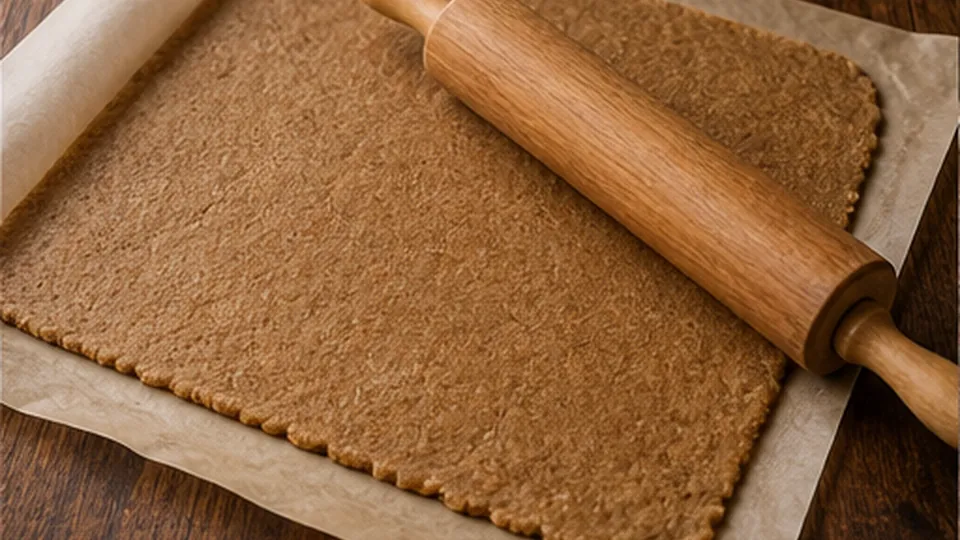
Scrape the dough onto the parchment and press it into an even rectangle roughly ¼ inch (6 mm) thick, using a spatula dipped in water so nothing sticks. Prick the surface all over with a fork for flat, crisp squares.
Press dough into the pan
Bake 22 to 25 minutes, until the edges are deep golden and the center feels firm under a light press. Cut the warm slab into squares right on the pan, then let them cool 20 minutes so the crumb sets crisp.
Bake, score, and cool
✅ How to know it's done
Edges are deep golden, the squares snap cleanly along the score lines, and the kitchen smells of cinnamon and warm banana. For crisp-edged graham squares with banana aroma, when the top darkens ahead of the center, cover that surface lightly and continue baking only until Banana Cinnamon Graham Squares is set. Use this visual check instead of adding more time: The edges are set, the center springs back, and a tester shows no wet batter.
💡 Practical tips (and what not to do)
Roll between parchment. Laying a second sheet on top lets you use a rolling pin properly, which gets the slab far more even than pressing by hand.
Prick more than feels necessary. Every hole lets steam escape, and the patches that puff are the ones that stay soft in the middle.
Rotate the pan halfway. Ovens have hot spots and a thin slab shows them, so a turn around the twelve-minute mark keeps the edges even.
Let the butter cool slightly. Hot honey butter poured onto the banana starts cooking it, which makes the dough slack and awkward to press out.
Store only when stone cold. Warm squares put steam into the tin and soften every one of them by morning.
Budget: Plain all-purpose flour with two tablespoons of wheat bran approximates the graham character for less money. Lighter: Cut the butter to three tablespoons and add a tablespoon of water, accepting a slightly drier snap. Kids: Cut the slab into smaller squares so they feel like a proper cracker rather than a bar. Extra flavor: Add a quarter teaspoon of ground ginger alongside the cinnamon, which is the traditional graham pairing.
💛✨ Flavor boost
Toast the cinnamon briefly, then whisk it evenly through the whole-wheat flour.
🥔 What Goes Well With It
Peanut or almond butter for spreading, since these are barely sweet.
Sliced banana and a drizzle of honey, to make a stacked snack.
A mug of warm milk with a pinch of cinnamon.
📦 Storage & Freezer Notes
Keep them in an airtight tin at room temperature for about a week, once they are completely cool.
Refresh softened squares in a 300°F (150°C) oven for five minutes and cool them again on the rack.
Freeze the cooled squares in a bag for up to three months and crisp them briefly in the oven after thawing.
The “crisp-edged graham squares with banana aroma” result is easier after setting out the parchment-lined rimmed sheet pan, plus the cooling rack, then finishing “Mash banana smooth with honey and melted butter” before “Fold banana mixture into flour and roll dough between parchment”.
At serving time, keep the “crisp-edged graham squares with banana aroma” result intact: wait through “Cool fully so the centers become crisp” before cutting or moving Banana Cinnamon Graham Squares. Check the portion against this cue: The edges are set, the center springs back, and a tester shows no wet batter. Let Banana Cinnamon Graham Squares release excess steam as directed before sealing it; trapped warmth would soften crisp-edged graham squares with banana aroma.
🧒 Serving Ideas for Kids
Serve them with nut butter or yogurt for dipping, which suits a cracker that is not very sweet.
Pieces broken along the cut lines have neat edges that hold a spread better than a jagged one.
They are firm enough to hold without crumbling, which makes them good for a small hand.
❓ Quick answers
Why are mine soft rather than crisp?
Either they were rolled too thick, or you judged them straight out of the oven. A quarter inch is the target, and the crispness arrives during the twenty minutes of cooling.
Should the banana be very ripe?
Yes, and the blacker the better for flavor. A heavily speckled one is sweeter and mashes more smoothly, which means fewer lumps in a dough that is already stiff to work.
Can I make these gluten-free?
A one-to-one baking blend works, though the dough turns more fragile and wants a few extra minutes of chilling before you press it out. The snap is close but never quite as clean.
Should I cut them before baking instead?
No, cut the warm slab after it comes out, as directed. Raw dough lets the cut edges spread and round off, where a warm baked slab divides into squares with genuinely straight sides.
🥗 Nutrition, roughly: about 210 calories per serving. Estimates only; brands, cuts and portion sizes change the numbers.
Published by MommyCooking.org. This AI-assisted recipe passed automated checks for page consistency and required image files. The publisher confirms this recipe was tested before publication. The food images are AI-generated illustrations, not photographs of a cooking session. Cooking temperatures should be checked with a food thermometer; nutrition figures are estimates. How we make recipes · Report a problem with this recipe